
Architects: Want to have your project featured? Showcase your work by uploading projects to Architizer and sign up for our inspirational newsletters.
Concept models are a great way to shape a project at critical moments. They can be used as sketches to start things off, mid-process tests to elaborate or refine an idea or as physical diagrams to distill a project for final presentations. A good concept model complements more detailed models and drawings. It’s a succinct summary, the well-phrased sentence that sums up a novel, the basic principle that keeps an experiment on track. Not only do they help explain a project to a client, professor or teammate, but they can reframe your ideas for yourself, particularly if you step outside your usual model-making habits and try a different technique or two.
There’s nothing wrong with the usual foamcore, chipboard or blue foam models, but there’s a whole world of ideas out there. Here are eight techniques to consider as you craft your next concept model at school or in practice.

(Left) paper cutout by Vjeko Sager. Photo courtesy Vjeko Sager. (Right) Your House by Olafur Eliasson. Photo courtesy Osar.
1. Stack Paper
Sometimes all you need to elegantly communicate an idea is to use a single sheet of paper. Artfully folded or cut, paper can be an economical means of exploring a surface’s form (and not just the Gehry kind). Stacks of paper can be carved into or bound together, creating an unexpected feeling of depth.
(Left) A Gathering of Resonant Vessels — inspiration for the National Music Centre of Canada by Allied Works. Photo courtesy Allied Works. (Right) Light by Asa. Image courtesy Asa.
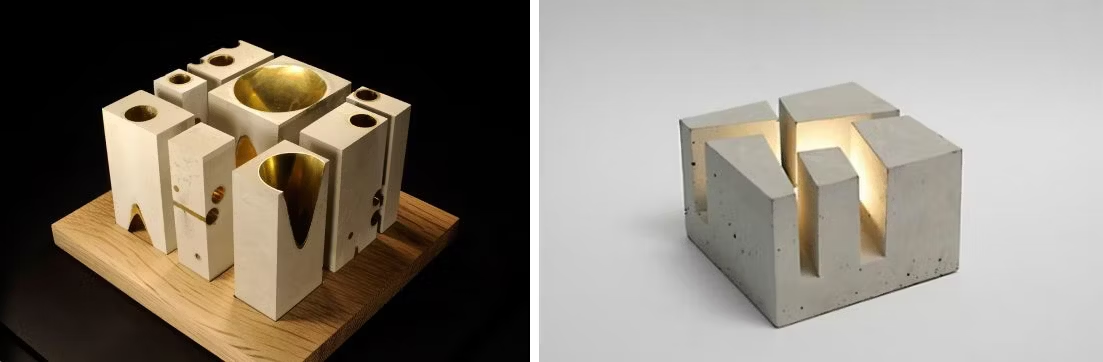
2. Cast Concrete
Casting can seem cumbersome because there are so many steps and it is often really messy, but it’s one of the simplest ways to create a truly monolithic model. With a little finesse, it is possible to get almost any finish you could want. You can make a mold out of almost anything, provided you coat the surface in petroleum jelly or some other water-resistant material, and inexpensive concretes are common in art or hardware stores. Spray-paint it gold and watch your idea shine.
(Left) Embedded Space — inspiration for the Clyfford Still Museumby Allied Works. Photo courtesy Allied Works. (Right) inspiration for the Musée Cantonal des Beaux-Artsby Allied Works. Photo courtesy Allied Works.
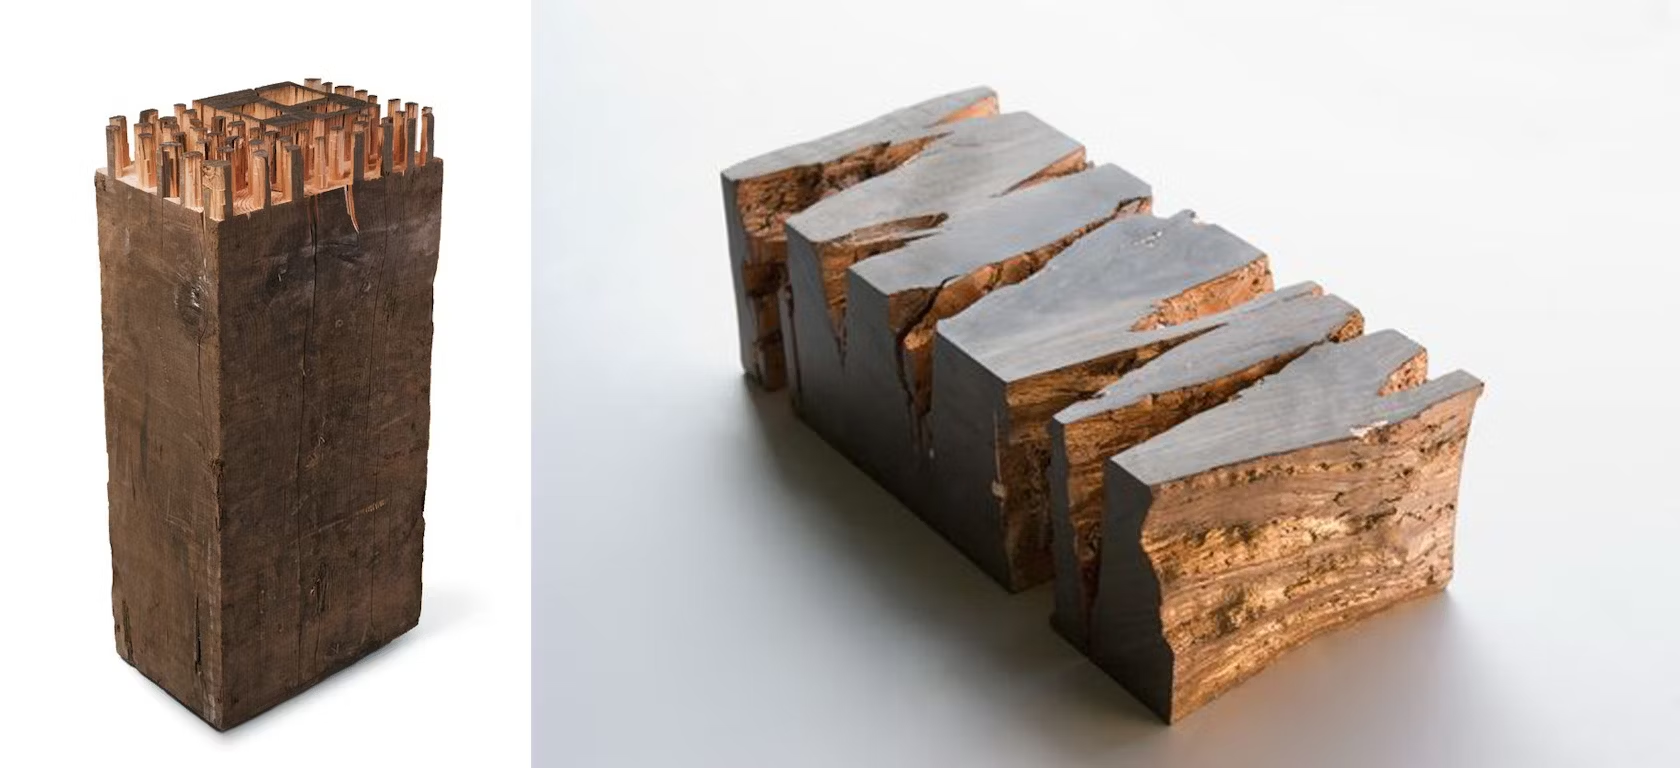
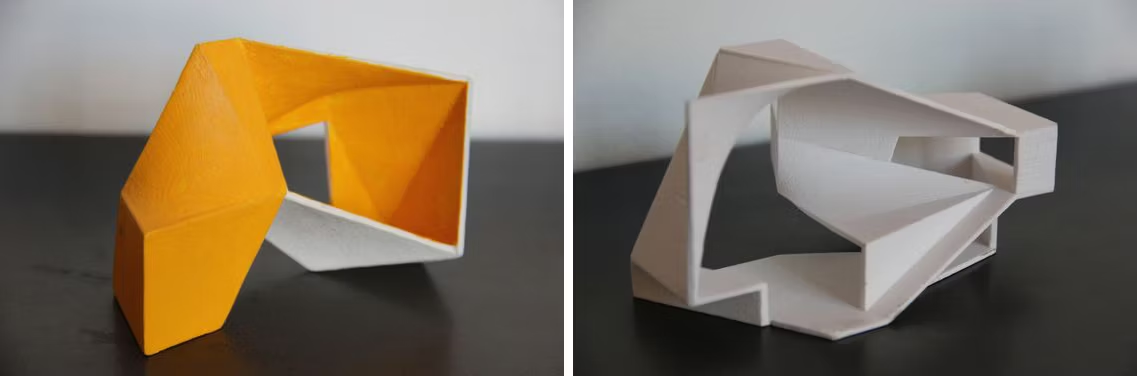
3. Carve Timber or Cork
Carving is another way to produce a monolithic model, but this one’s a little trickier. Finely finished carvings require a sculptor’s touch, but with a little patience, even a novice can produce something with a rough-hewn worn look. Wood’s the most obvious material, but plaster or cork are workable, too.
(Left) model for the House of Culture and Movement by MVRDV. Image courtesy MVRDV.
(Right) model for theICC International Criminal Court by OMA. Model by Werkplaats Vincent De Rijk. Photo courtesy Werkplaats Vincent De Rijk.
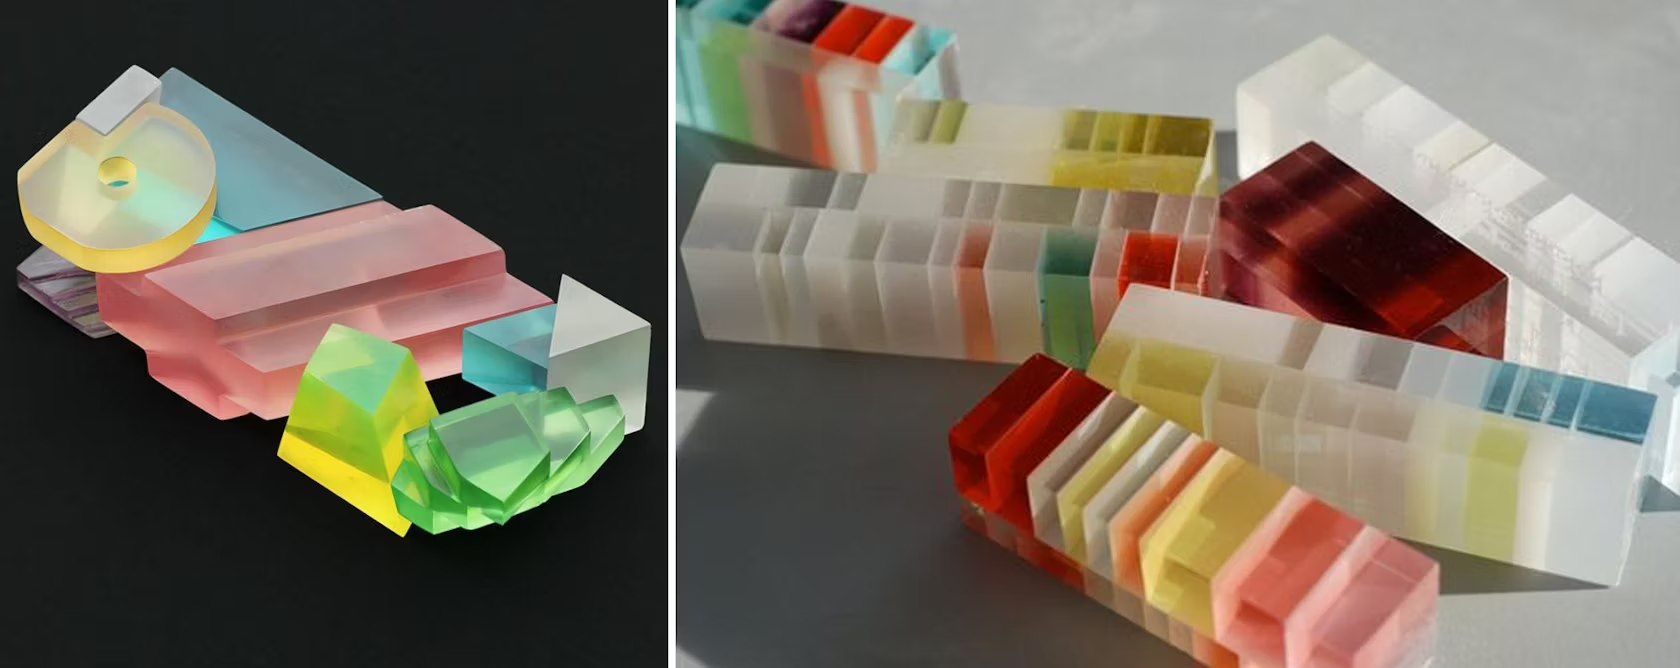
4. Cast Resin
Resin’s pretty tricky to get right, but it can really pay off. There are a lot of finicky steps, from dying and mold-making to curing and finishing, but the end result can be phenomenal. If you can afford it, sculpted resin models are dazzling showstoppers.
Study models for the ICA by Steven Holl Architects. Images courtesy Steven Holl Architects.
5. Harness 3D Printing
3D printing can be expensive, and the digital file prep can be time-consuming, so printing is usually used for highly resolved, detailed presentation models, but it can be a great way to clearly isolate complex formal ideas. More sophisticated color printers can add a rich diagrammatic layer of information.
(Left) model by Díaz & Díaz Arquitectos. Image courtesy Díaz & Díaz Arquitectos.(Right) model of PNCA ArtHouse by Lever Architecture. Image courtesy Lever Architecture.
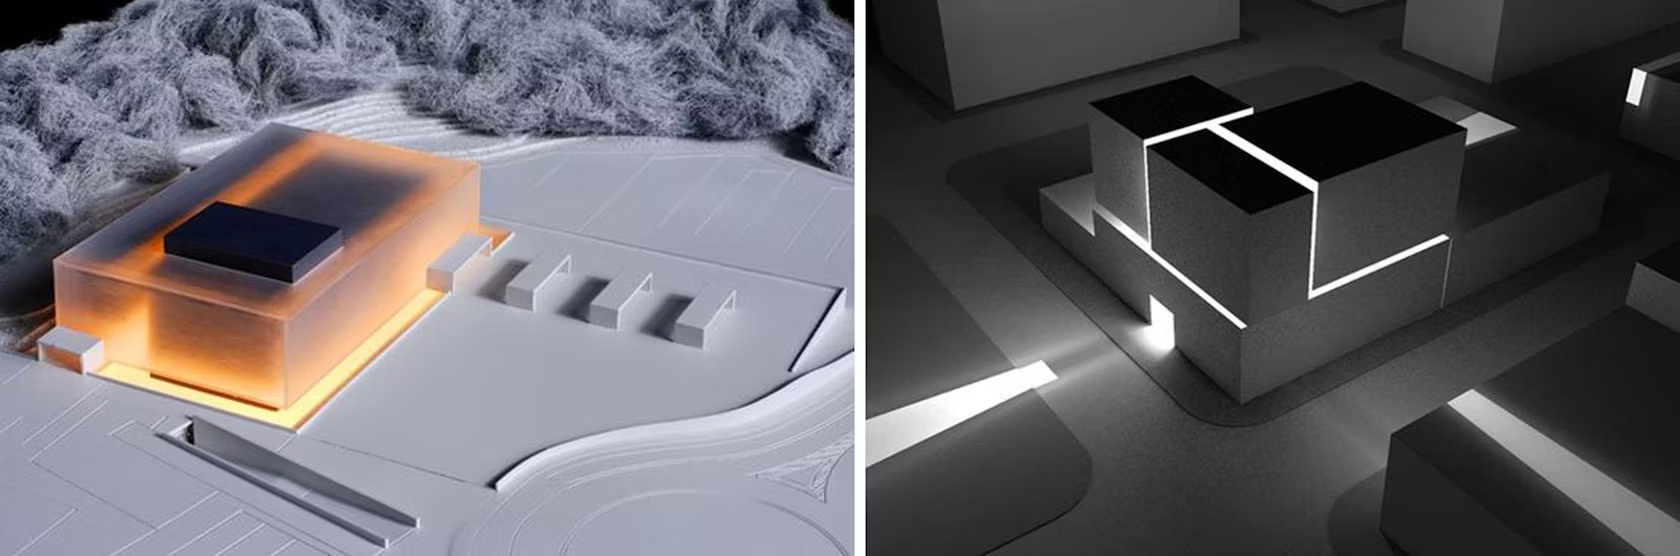
6. Add Lights
Nothing is more dramatic than a glowing model. If you’re working with opaque materials, you can use an internal light to show openings or cracks in the massing, and if you are working with anything translucent, like plastic or resin, a well-placed light can turn your design into a luminous jewel.
Models for Three Museums and One Square by Christian Kerez. Photo courtesy Christian Kerez.
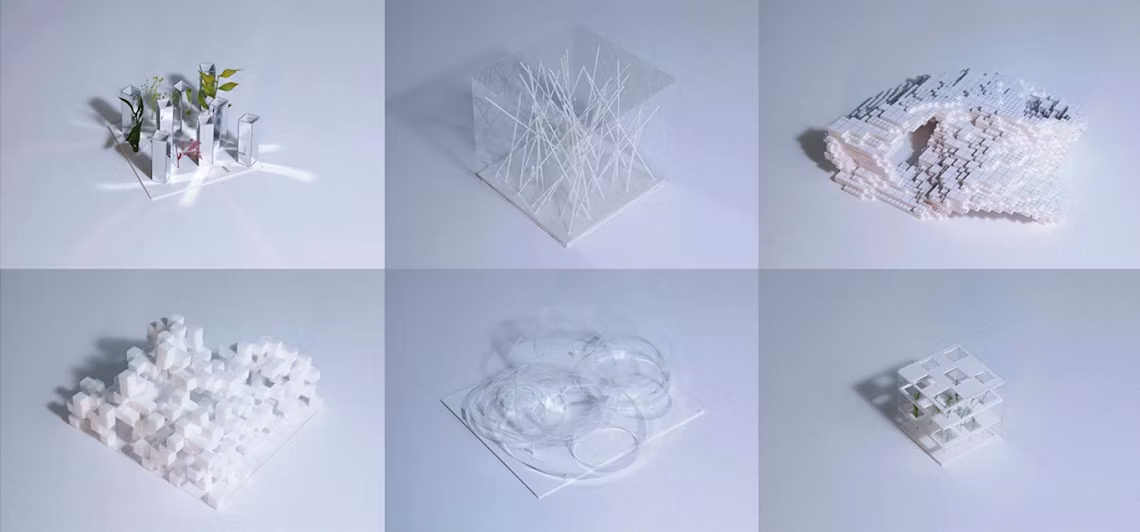
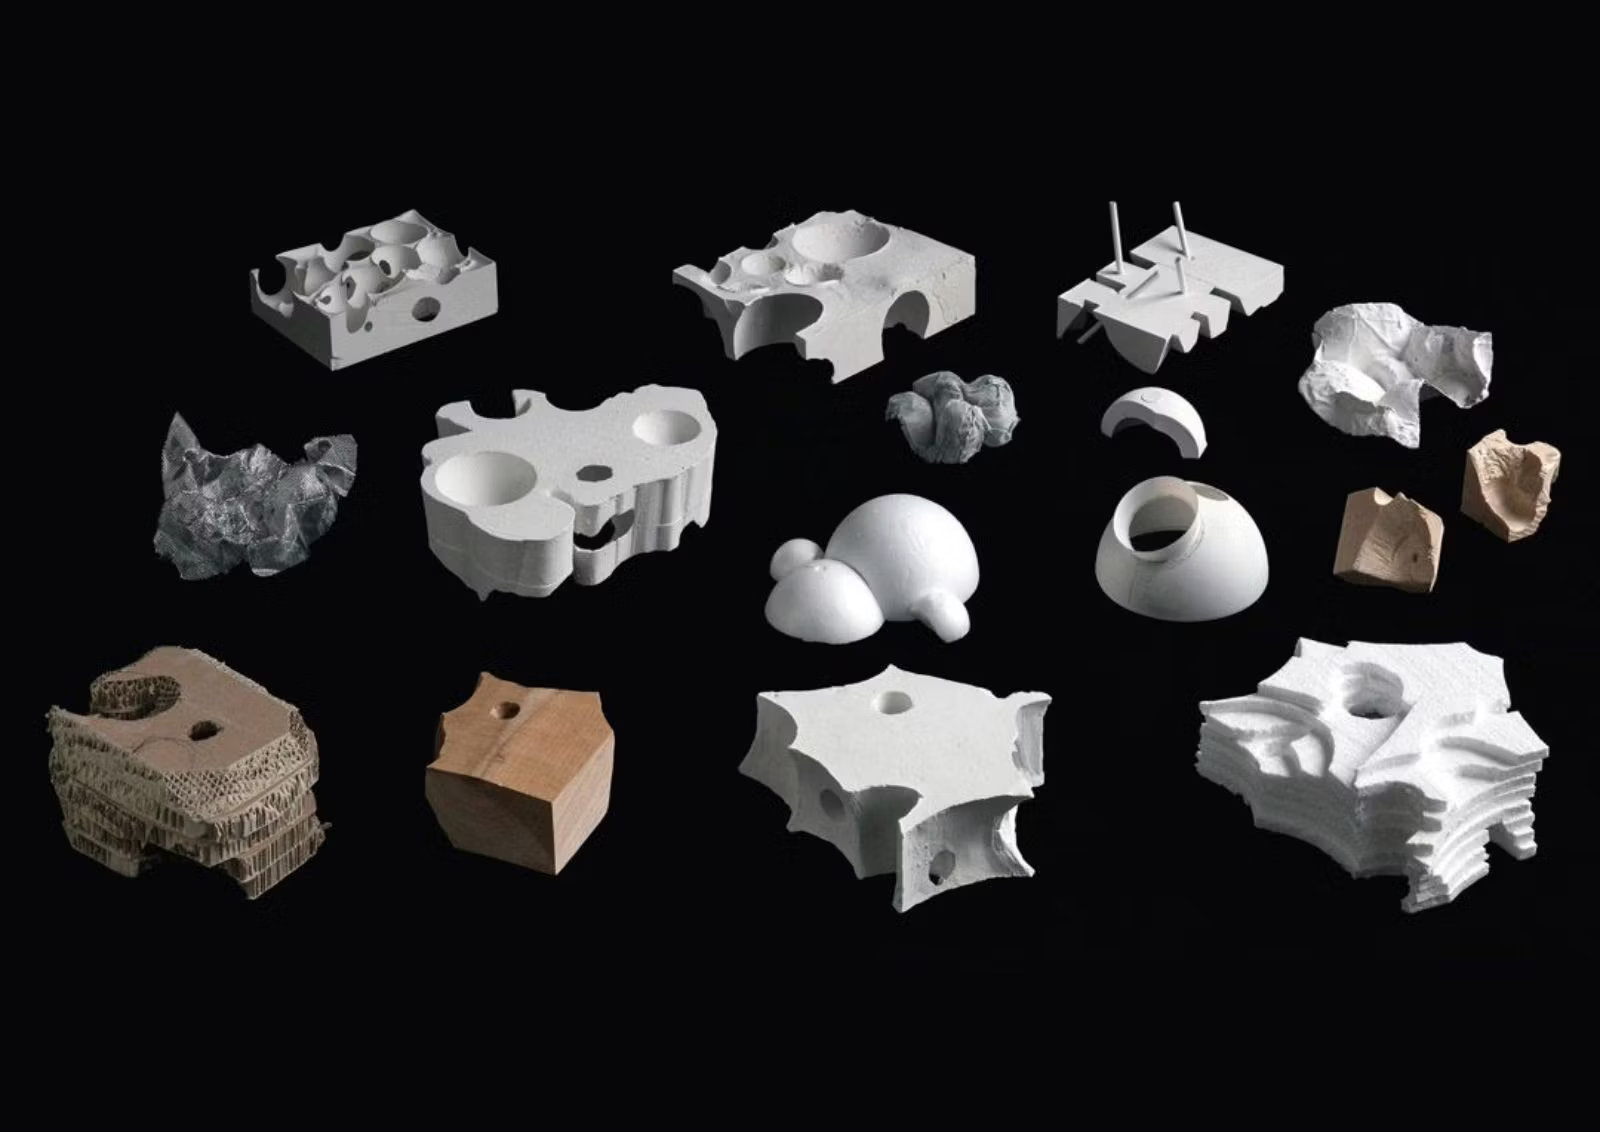
7. Create a Series
Rough concept models can be great because they let you quickly sketch out a lot of different options. If you try out a handful of different materials and techniques and present them together as a sequence, they can give your presentation richness and charm.
(Left) Found Architecture by Sou Fujimoto. Photo courtesy Sou Fujimoto. (Right) Solstice Pavilion model by Takk Architecture. Photo courtesy Takk Architecture.
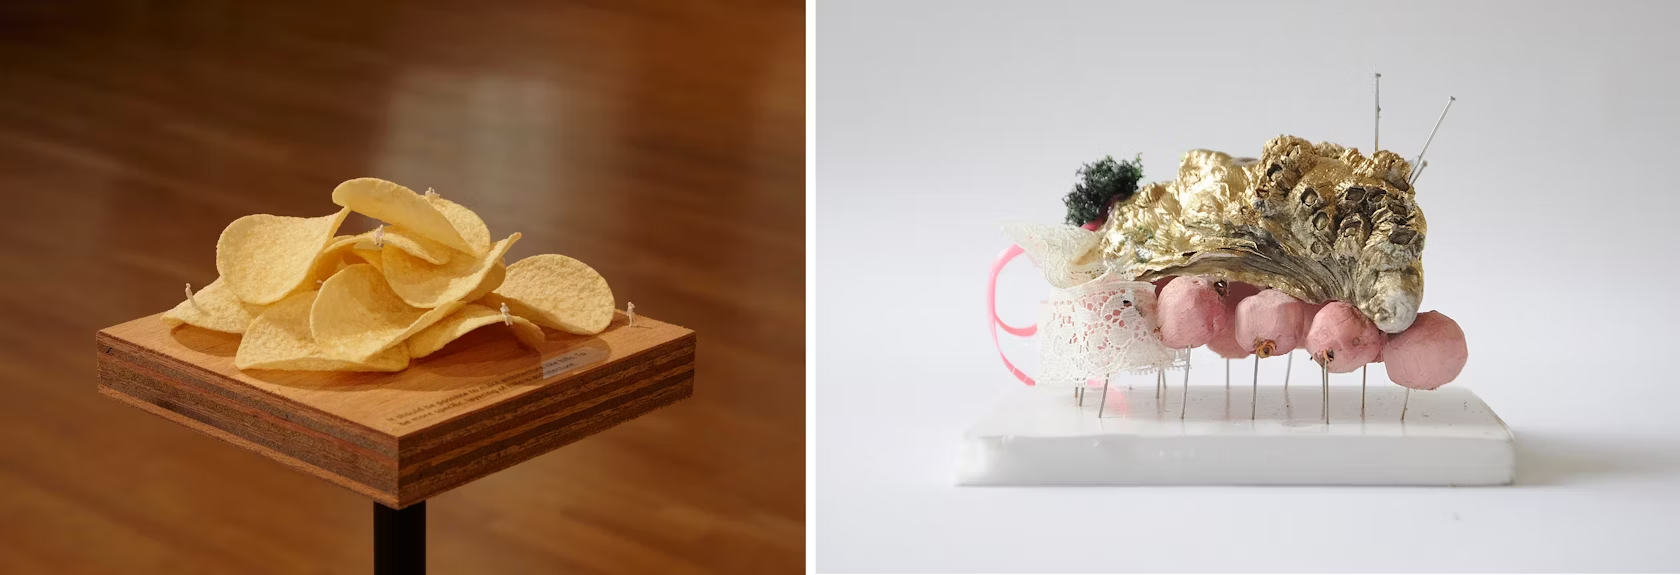
8. Use Found Objects
No one said a pile of potato chips couldn’t be a building. No one probably ever thought that needed to be said. If you’re really in a rut, reach for the last thing you would expect to see on a model stand. The results might literally be garbage, but at least they will be something you haven’t tried before, and eclectic but carefully curated assemblages can give your model and presentation a clever sense of humor that’s pretty hard to get out of sheets of white foamcore.
Top image: Sou Fujimoto concept models; via West Kowloon. Enjoy this article? Check out more of our Young Architect Guides:
Architects: Want to have your project featured? Showcase your work by uploading projects to Architizer and sign up for our inspirational newsletters.


