
Architizer is building tech tools to help power your practice: Click here to sign up now. Are you a manufacturer looking to connect with architects? Click here.
3ds Max is an immensely powerful program with a myriad of features and capabilities that require time and practice to master. However, it is intuitive enough for one to grasp the basics relatively early on, and the possibilities of creation are truly fantastic. Part of the beauty of the design process, of course, is that there is always room to improve the way you work and scrutinize what you create.
Here are a few basic points for consideration and working tips for designing and creating with 3ds Max.
© D Fenton
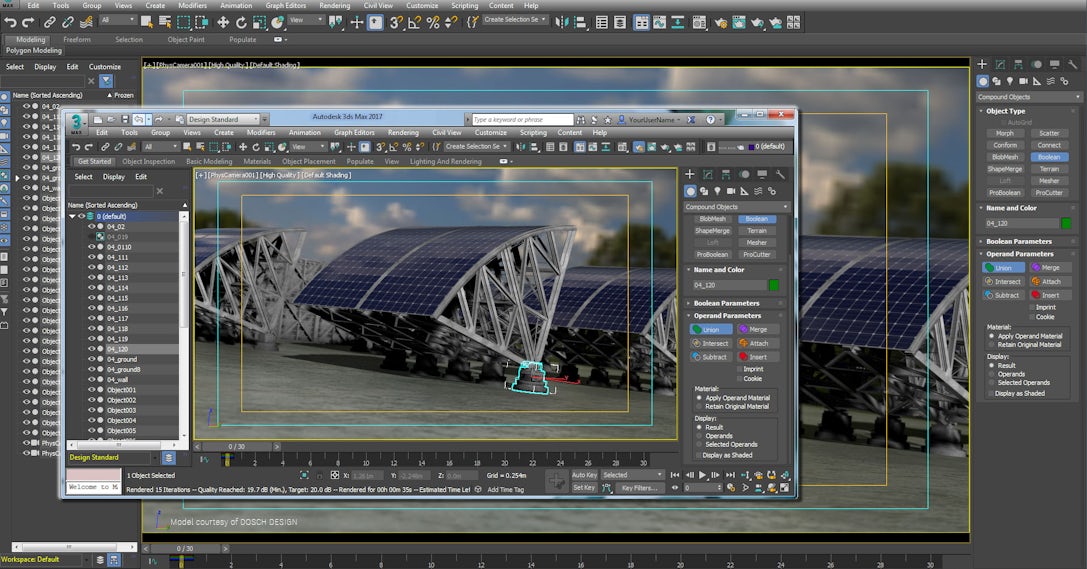
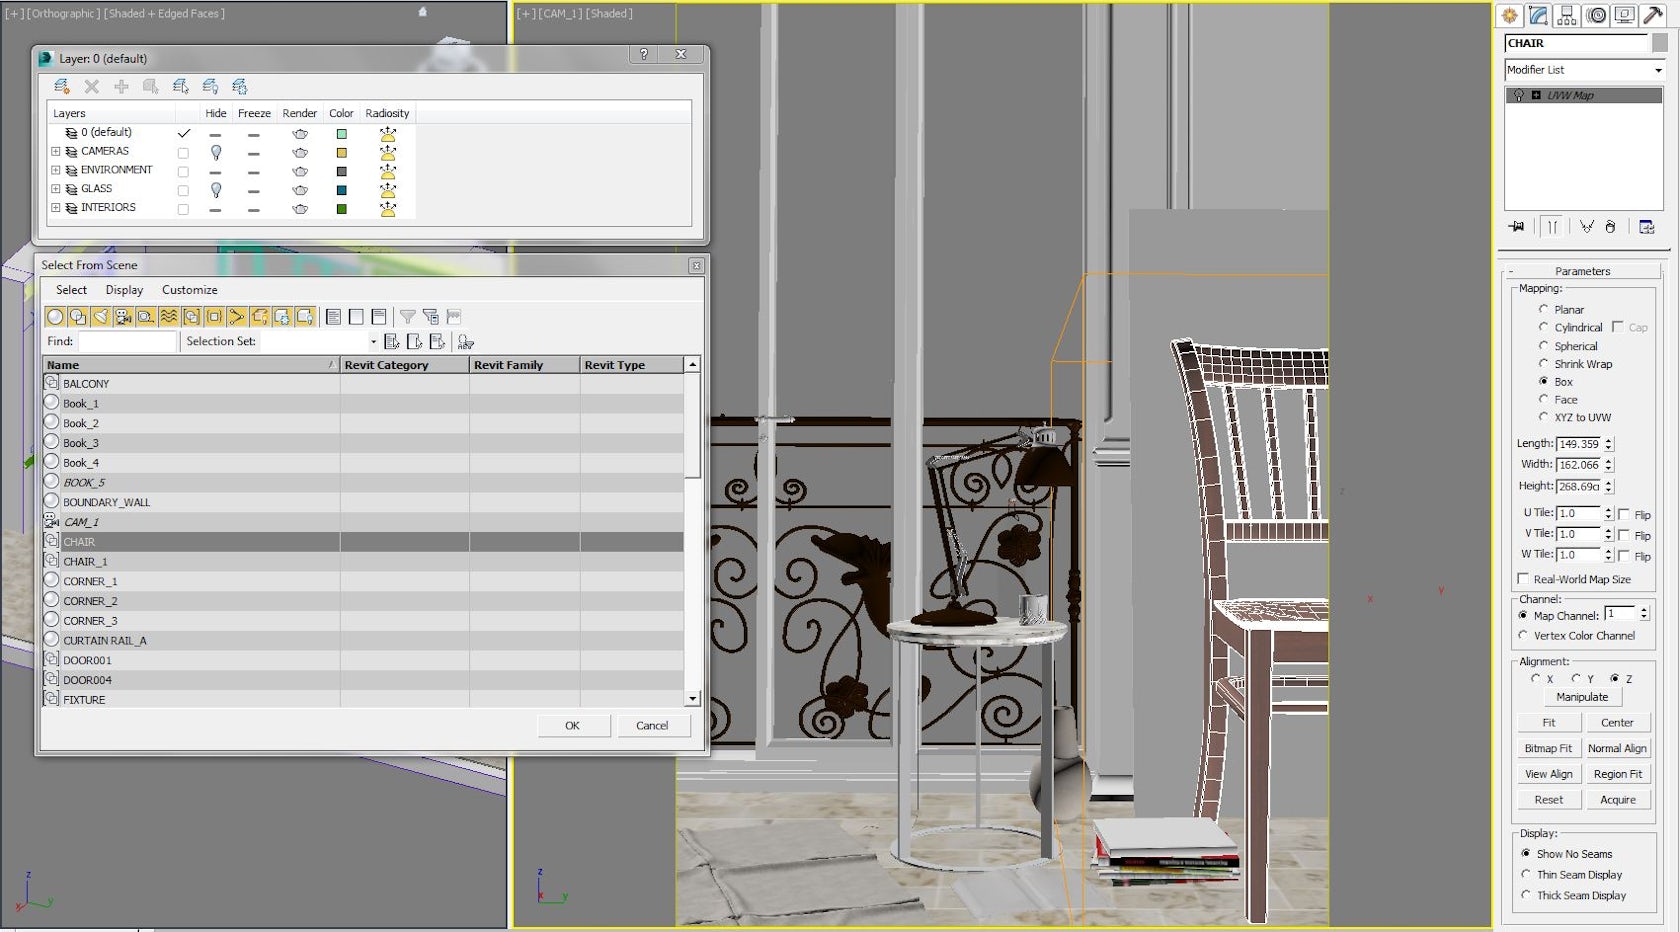
Naming, layers and groups
1. Deal with Geometry
When modeling in 3ds Max or dealing with geometry, always use a 1:1 scale and give elements logical names. It will be far easier to identify “South Wall” than “Box 095” in a complex scene. Use layers and the Group function to group multiple elements together, and when making repetitions of the same thing, create instances instead of outright copies. That way, when you make a geometry or material change on one item, all of the instances will also change accordingly.
2. Isolate
In complicated scenes, isolating individual objects (right click > Isolate) will allow you to focus on editing or texturing one individual item while the rest of the scene is hidden.
3. Populate
Use 3ds Max’s populate feature to place large groups of people in your scene from the built-in library. They are pre-animated for slight body movement when standing still or walking motions if placed along paths and are fully textured.

© D Fenton
Model only what you need
4. Model Efficiently
Move your camera around inside 3ds Max to select desirable points of view and frame shots prior to going into detailed modeling. This way, you will only need to model what the camera can see and will save enormous amounts of time. This will also help to avoid the temptation of wanting to show off all of your painstaking modeling in one unrealistically wide-angled image that attempts to capture the entire scene. Instead, try using narrower-angle lenses, and if you do need to include more of the scene, pull the camera back and use the clipping plane to clip foreground elements from view.
5. Embrace Real-World Photography
Rendering software allows endless tweaking of camera and environment settings to bypass real-world photographic constraints in order to curate a very specific image, but doing this will invariably result in a distinctly CGI look. If you adopt the philosophy of attempting to replicate real photography, your images will begin to take on a photographic quality.
© D Fenton
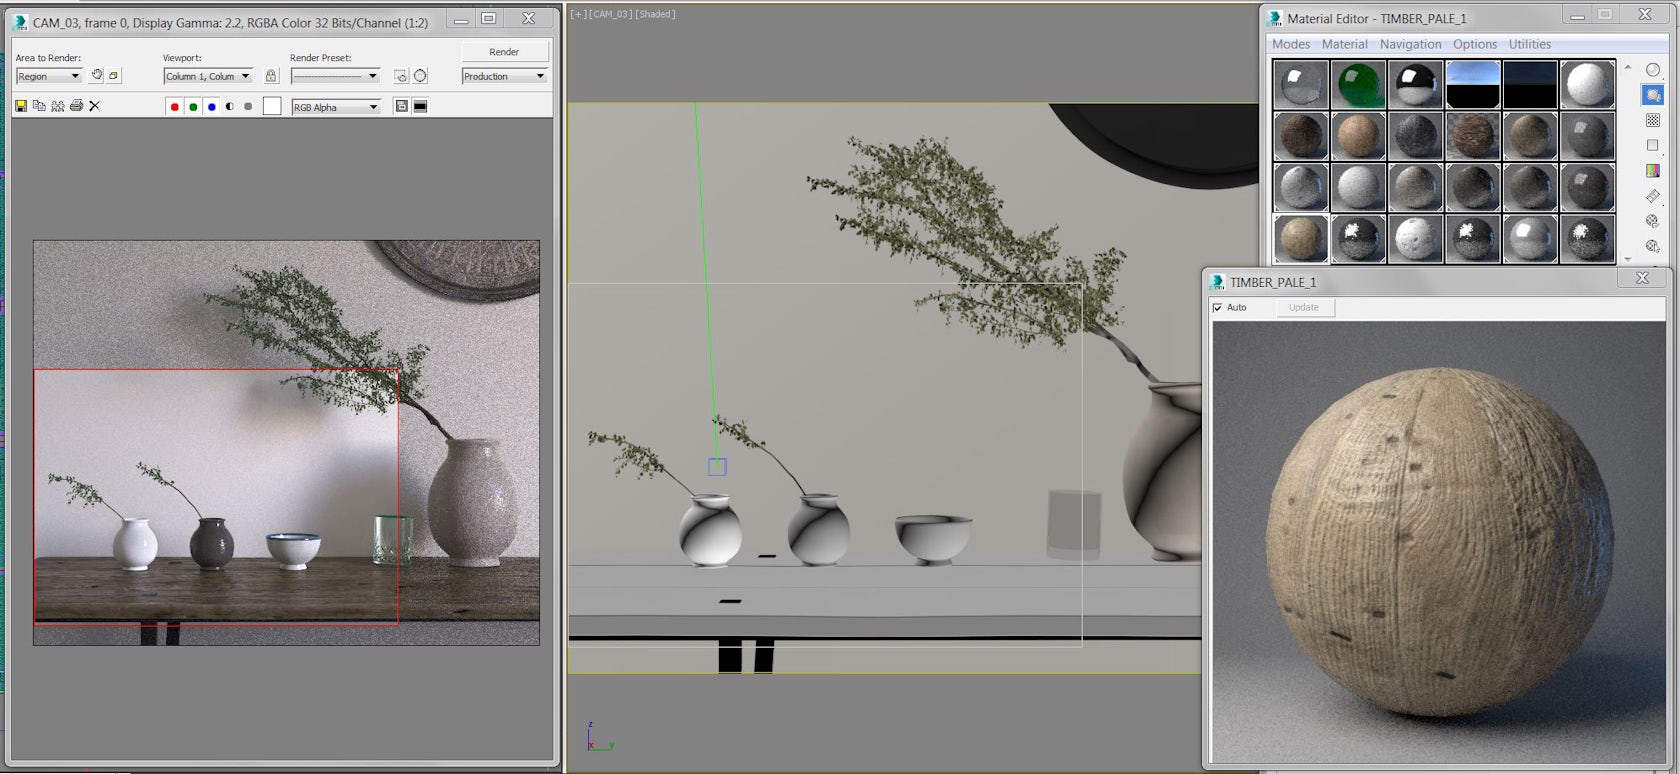
Replicate real-world materials
6. Master Rendering
If you are using a specific render engine (such as V-Ray), ensure that all the scene materials are optimized for that particular engine. Thus, you avoid strange behavior in materials and lighting when you render.
7. Create Realistic Objects
Look to the world around you for clues of how different materials and surfaces behave under varying light conditions. You would rarely find completely pure blacks or whites in the natural world, so avoid using the pure black RGB value of 0, which will absorb all of the light that hits it, and the pure white RGB value of 255, which will reflect all of the light.
Likewise you will rarely find a physical object with sharp edges. Smooth 90-degree edges allow an object to behave more realistically under its light source.
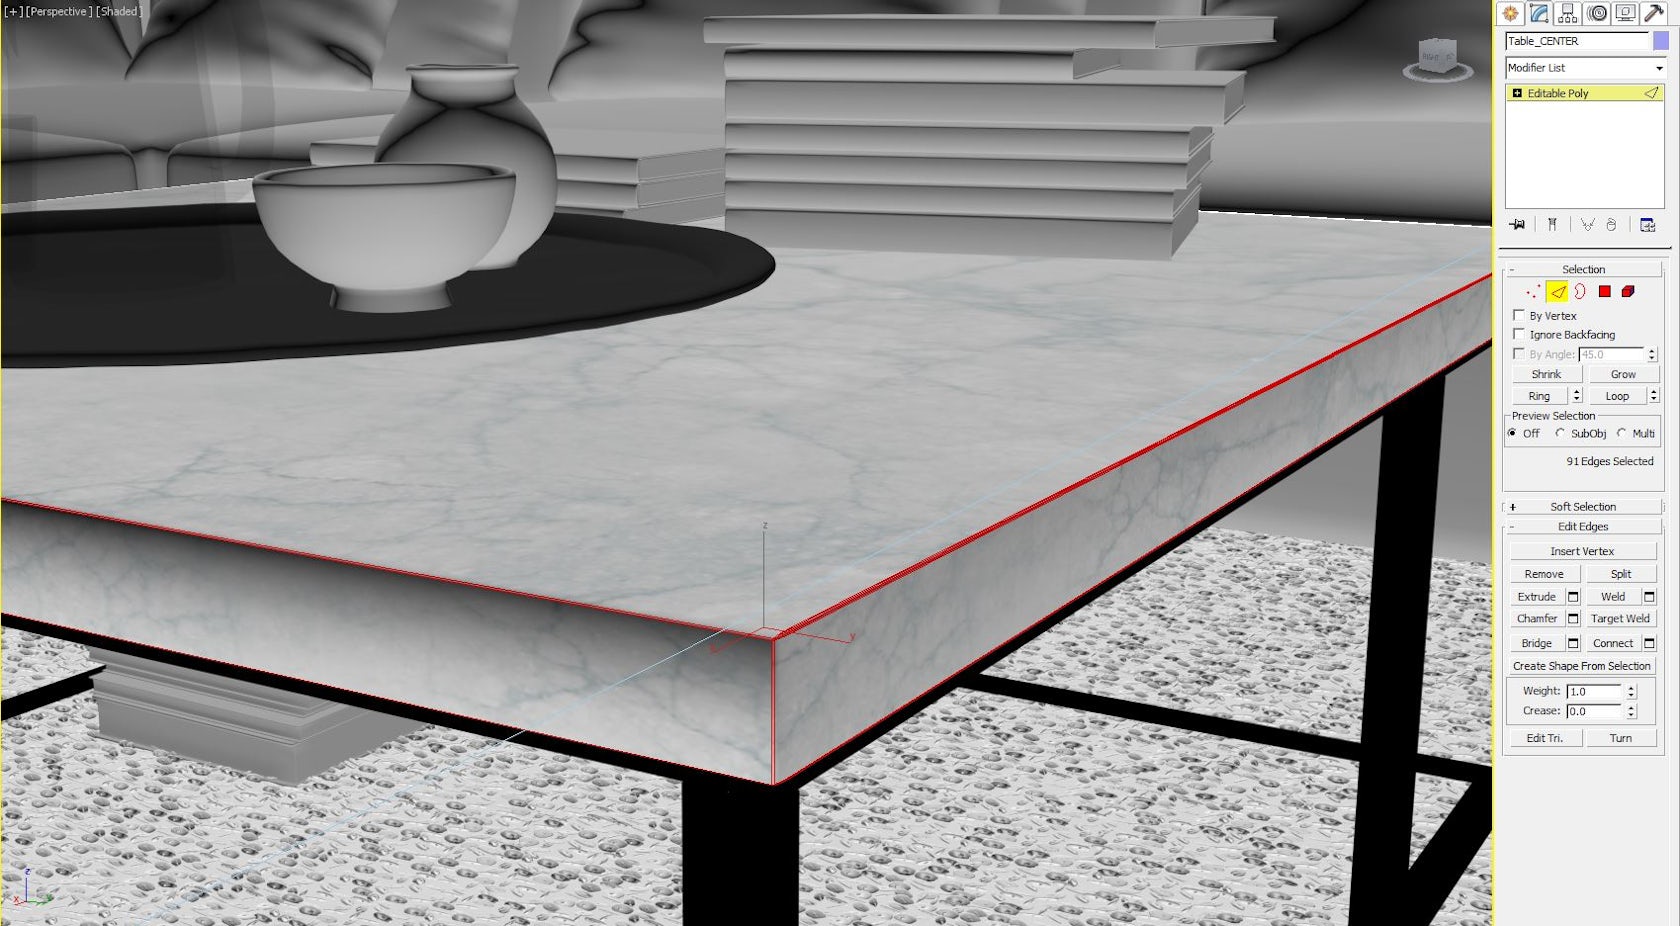
© D Fenton
Smooth sharp-angled edges
8. Use Realistic Lighting
Base your lighting setup on real-world environments and your material texture and color will appear far more convincing. Take a photograph in an environment similar to that which you are rendering in automatic mode and note the shutter speed, aperture and ISO speed that the camera uses. Apply these values to the Physical Camera inside 3ds Max and tweak your light-source (for example, your HDRI or Sun) intensity until the resultant render’s lighting levels resemble those in the real photograph. Now you have essentially established a lighting setup that uses real-world values, and you can adjust the Physical Camera’s settings to control the lighting as you would do to take the real photograph.
You may still need to add fill-lights around the scene to highlight certain elements, but their intensity will now have a realistic basis, and you will avoid heavily blown-out areas and over-the-top reflections. Remember that the more light sources and reflective materials you have in your scene, the longer the render will take to complete.
9. Optimize Your Output
Always save your renders as 32-bit TIFF files and never JPEG. JPEG is a compressed format and will restrict the amount of information you can deal with in postproduction. A 32-bit TIFF is an uncompressed file and will allow you far greater control over postproduction lighting and exposure adjustment.

Be selective with what you capture in a shot
10. Update and Save
3ds Max is a very complex program. Regularly check for the latest service pack to ensure any updates and bug fixes are implemented.
Due to this complexity, 3ds Max is also prone to crashing unexpectedly. Always save before making any major change or starting a render. You should also save incrementally to ensure that you have backup files to revert to if your current save becomes corrupt. 3ds Max has an incremental save feature (file > save as > click the + button), which will add a numbered suffix to your filename each time you save.
Douglas Fenton is a designer and visualizer based in New York and London. For more tips and tricks on your favorite software packages, check out these articles:
10 Tips and Tricks for Success in SketchUp
11 Quick Tips and Tricks for Taming Rhino
10 Quick Tips and Tricks for Efficiency in Photoshop
Architizer is building tech tools to help power your practice: Click here to sign up now. Are you a manufacturer looking to connect with architects? Click here.


