
VIATechnik specializes in technology for the architecture, engineering and construction industries and works with clients in the realm of virtual reality, BIM services and artificial intelligence. Architizer is glad to present a selection of the firm’s blog posts on all things AEC. check out their website for more.
If you’re using Unreal Engine 4 to improve your scenes, you know the program can feel a bit like a maze. Fortunately, it doesn’t have to be this way. Thanks to its powerful and multifaceted functions, this tool stands out as one of the best for improving your materials and creating the outcome you want. Today, we’re going to offer a brief tutorial on how to use Unreal Engine 4 to its full potential.
Engine Settings and Lighting
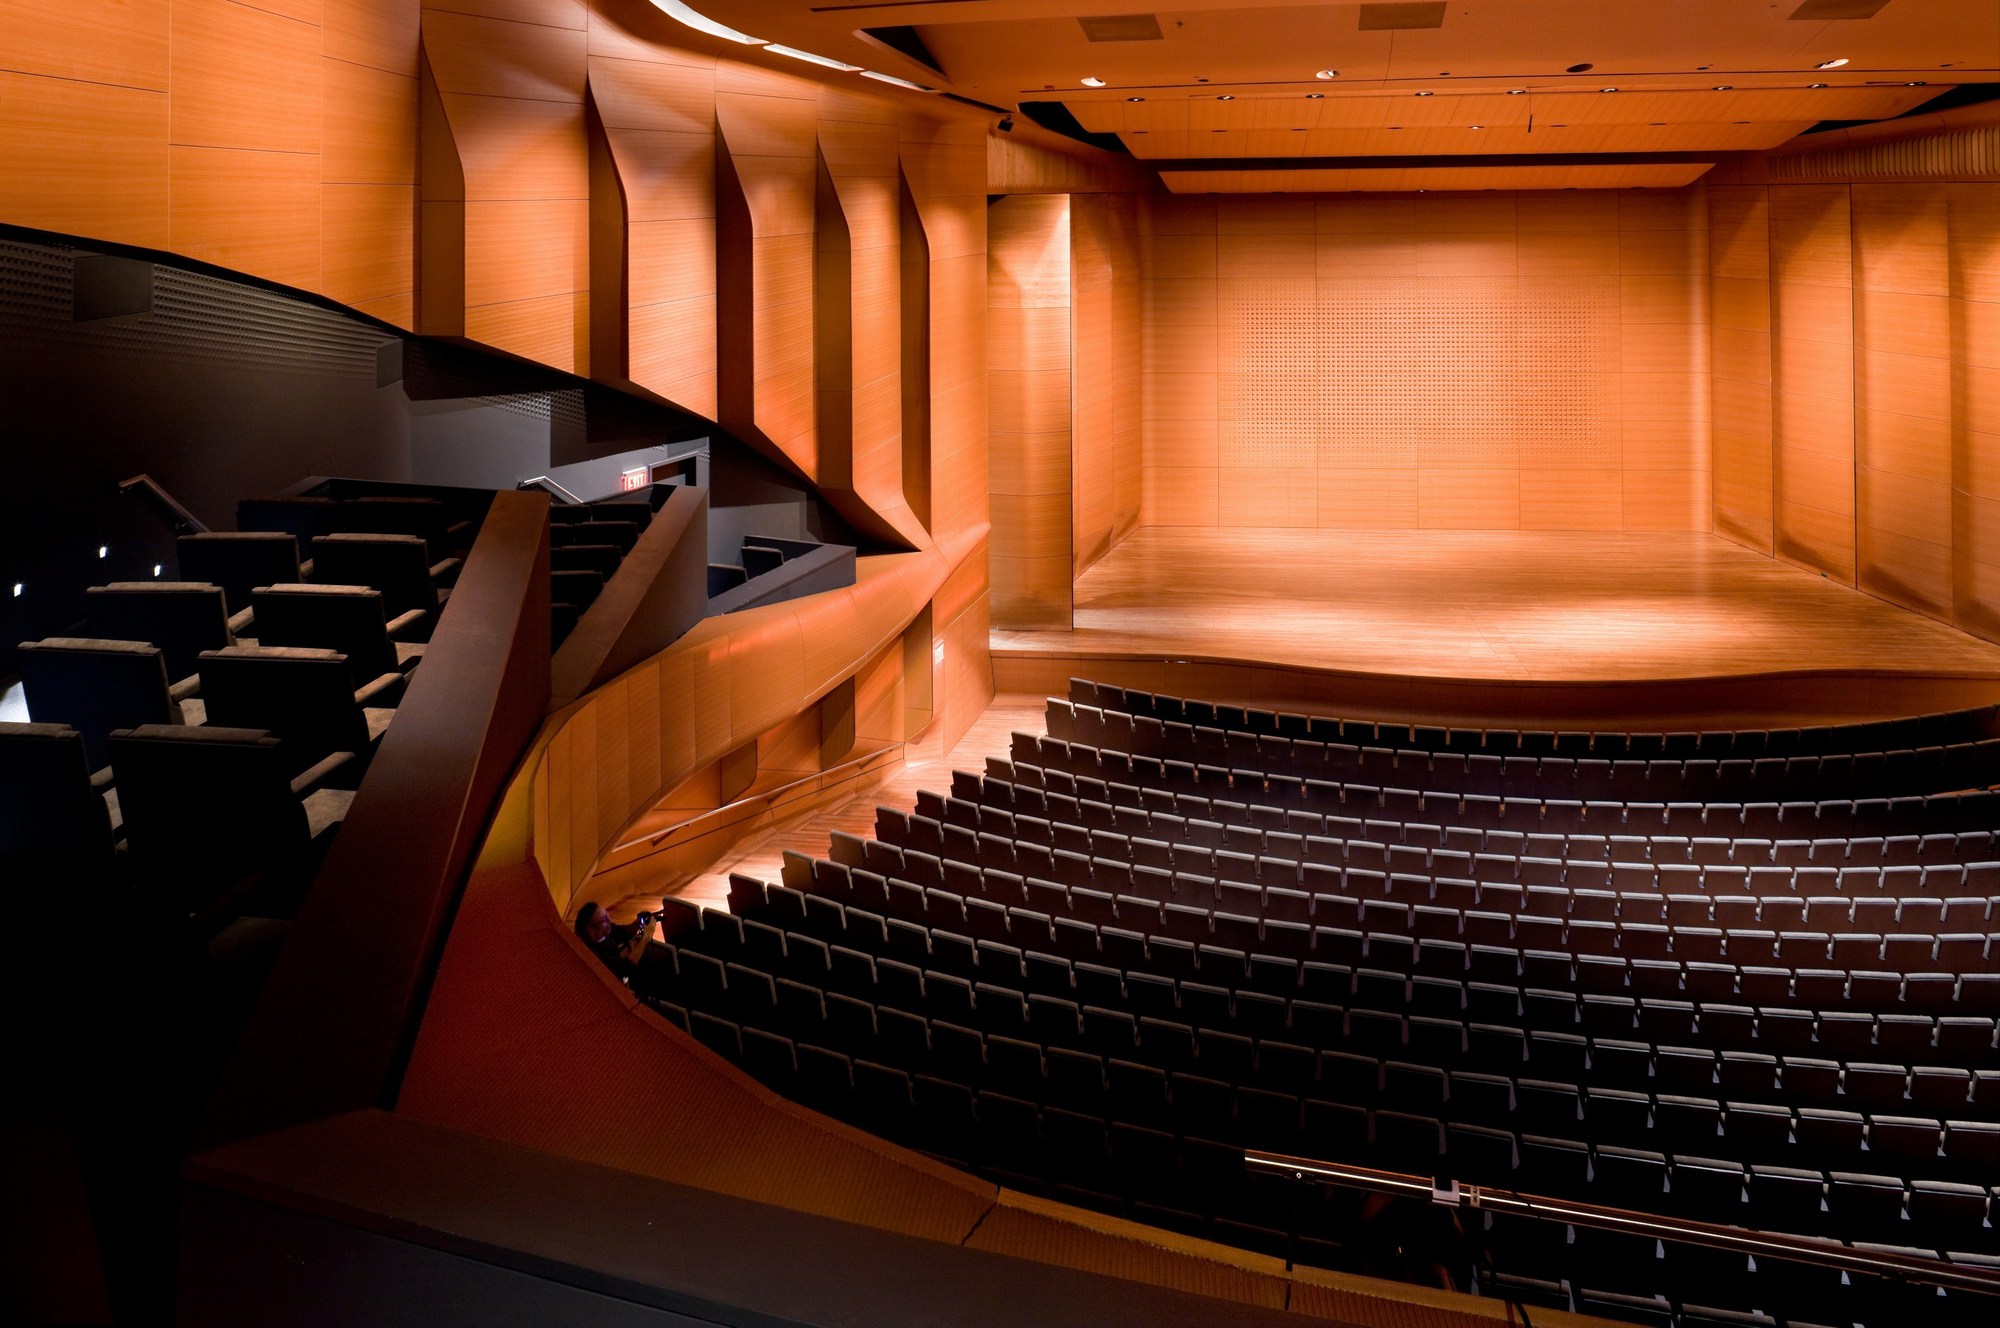
Many factors make a scene look good inside Unreal Engine 4. One of the most critical factors is lighting. Lighting creates the mood of a scene. More importantly, though, it lends a sense of realism, especially when it’s done right.
The Lightmass settings under UE4’s World Settings have a massive impact on how realistic your scene could look. Be aware that adjusting the values may impact build times. Here’s an example of the ideal lightmass setting we typically use:
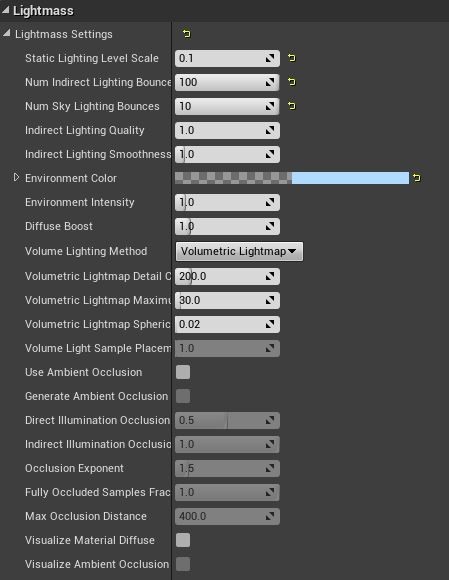
The Static Lighting Level Scale has a default value of one. A higher number means a lower graphic quality for your scene. A lower number, meanwhile, means the opposite. Our static lighting level scale is set to 0.1, which is the lowest number you could use to make your lights and shadows sharper. This will take the most time during light builds. Usually, we set this to .35 or .3, especially if you need to produce something quickly. Indirect Light Bounces are also very important, especially if you have interior scenes, since it allows light to bounce naturally from any light sources.
It’s also important to take note to add Lightmass Portals in any window/opening you have from an interior scene. Doing this creates natural light in your interior scene from an exterior light source.

Lighting and the reflection values for each material play a significant role in creating realism. It’s also important to use the right roughness and specular values for each object to compliment your light set-up. Additionally, you must be careful to avoid overlooking the reflection value inside the project settings. Under the rendering tab inside UE4’s project settings, always check the reflection value. Default is “128.” If you choose, you can adjust this to a maximum of “1024,” which provides sharper reflections and an overall better result. The drawback is that it consumes more resources from your machine – especially if you’re dealing with a larger scene, it could take a significant hit in your performance if not managed carefully.
Textures
Textures are critical as you set up a material. Use smaller values, such as a 256 or a 512 map for smaller objects. For larger, more noticeable objects, like walls and focus pieces, use 2048 and 4096 maps. If you’re aiming for photorealism, use 4k maps. Sometimes, you can ramp it up to an 8k map, especially if your computer can process this without problems. This would be ideal if you’re planning to output video showcasing your scene. For mass production or in executable packages, max out with 4k texture maps, instead.
Lightmap texture sizes are also important in building your scene. The same goes for textures in each material. You must use smaller resolutions (such as 64, 128, and 256) for smaller objects. Apply larger lightmap resolutions for objects between 512 and 1024. It’s important to apply bigger values on objects where shadows are casting, as this provides a more realistic result. This is very essential when your lights are set to static. This will result in better shadows and better overall performance inside the engine.
Light Setups
Light setups are dependent on what kind of scene are you making. In an exterior scene, we rely on the main light source with several post process settings to make everything look better. It’s also a good practice to experiment with lighting and use external plugins provided by various developers. No matter what, you have to make sure you can run your executable files after packaging with whichever plug-in you choose to use.
Post Process Volume
Post Process Volume plays a big role on how your scene looks. At this point, you could adjust any visual setting to create the look you want for your scene. A great example is the Color Grading setting and Film Setting. These create different moods and may also improve the assets in any scene, as long as you program the settings appropriate for your level.
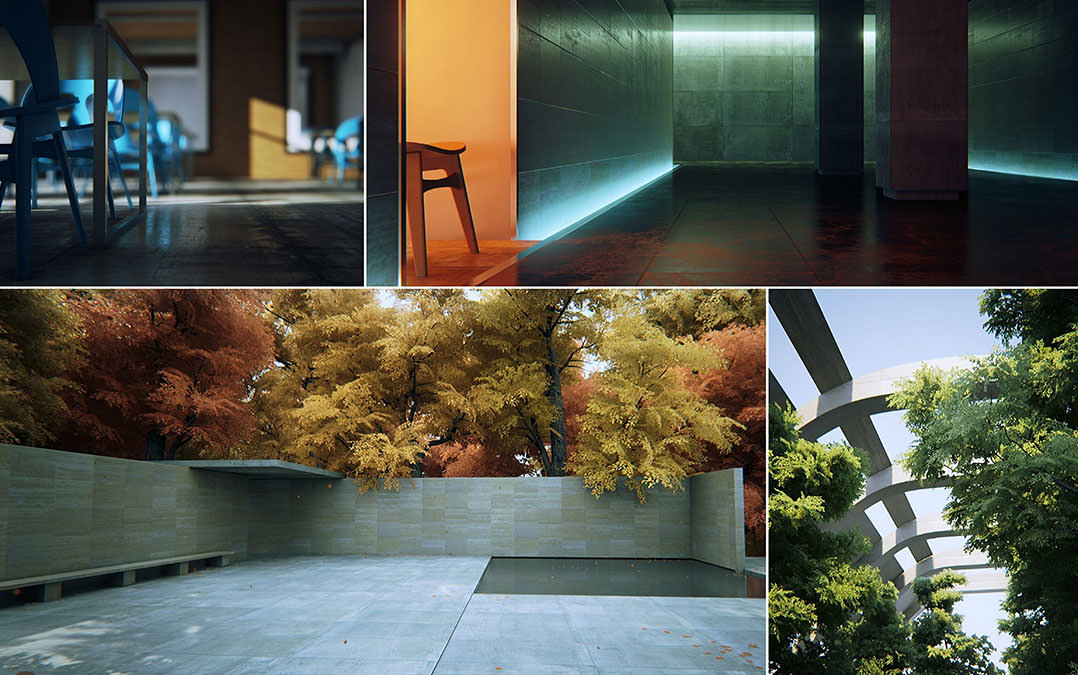
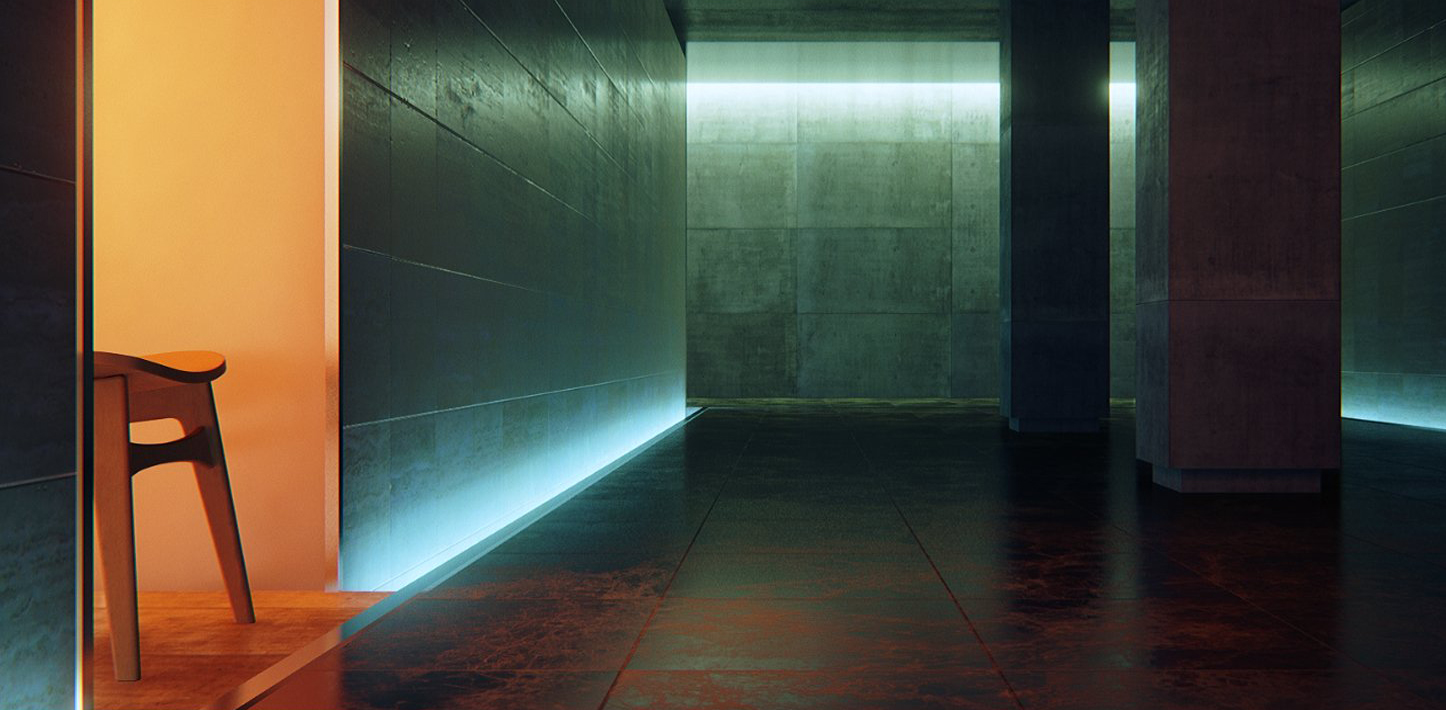
A sample of Unreal Engine 4 architectural visualizations by Koola; images courtesy Ronen Bekerman
Substance Painter
Model UVs: Before applying materials or smart materials on any mesh, it is crucial to check first the model if it has a well laid-out UV. This will help produce a clear, high-resolution texture. An additional tip is to keep in mind where the UV seam will be. We recommended cutting the seams in areas that will be least visible. Sometimes, UV seams are obvious. To avoid this, create a black mask then apply a “paint” parameter, so that painting over or masking out the seam is possible.
Baked Maps: Next is to bake the necessary maps to generate a realistic, credible, convincing texture? When 3rd party apps are used, importing the map files and linking them to the specified maps will suffice.
Particles: Substance Painter can add details using particle effects. There are varieties of particles to choose from. Ranging from “Broken Glass” effect to “Sand Storm.” All in all, there are 17 particle effects to choose from.
- Broken Glass
- Burn
- Electric Lines
- Fill
- Fracture
- Laser Impact
- Leaks
- Leaks Heavy
- Liquid Stream
- Organic Spread
- Puddle
- Rain
- Rococco
- Sand Storm
- Splat
- Veins
- Veins Small
Smart Masks: In addition to adding details, Smart Mask is one tool to achieve complex and intricate patterns. It varies from “Subtle Scratches” to “Surface Rust.” There are 47 different Smart Mask to choose from. Smart Masks are located in the “Shelf” window.
Texture Resolution: Changing the resolution of the texture is feasible in Substance Painter. You can adjust this option in the “Texture Set Settings” window.
Size variations are as follows: 128, 512, 1024, 2048 or 4096.
3D Modeling and Asset Creation
Asset/Model Assessments: As you look at the overall approach toward individual tasks and the overall impact of the project, keep assessment in mind. Assessment means identifying the file we receive from CAD-based tools (such as Revit and Sketchup). These will act as a reference for any pieces we can still use.
The most common challenges we encounter are broken meshes, heavily triangulated models, no UV mapping, flipped normal faces and poly count, as well as minor asset details like rivets, switches, window, door knobs, and text markings that don’t necessarily make a difference. You can apply its overall silhouette as a texture map or substance material in our pipeline. If there is a need for these details to be highly visible in our VR creation, we proceed with caution with a poly count in mind.
Model Creation: One of the golden rules of 3D modeling is that your mesh topology must meet these three criteria:
- (Simple, Even and Clean). Simple topology has cuts and edge loops when necessary on specific areas or need further curvature. If it doesn’t contribute to its overall form and silhouette, eliminate these. Even distribution of edge loops and topology also improves overall asset form. Clean topology refers to errors in the modeling process. Flipped usual faces, polygon faces having more than four sides, and unexpected combined vertices are the most common. The best practice for clean modeling is to have only quads, and (if needed) triangle faces.
- Polycount and Optimization. Keeping aware of your Polycount and optimization is critical during the creation process. The objective is having low polygon count without sacrificing the overall silhouette and form of your model. Unnecessary subdivisions on a mesh or surface increase the poly count on your assets and can contribute performance issues inside the game engine. Your polycount budget may vary (e.g., simple chairs and table without having much curvature – 3500 or below-5000),. Keep in mind that complex appliances require a closeup look in VR (Kitchen mixer) 12-15000, though.
- Edge and Surface Details. Adding a bevel or chamfer operation on the edges of your model improves lighting quality, especially on models with a 90-degree corner. Be sure to define the boundaries according to real-world scenarios. This spells the difference between realism and CGI. This also applies to surface detail, especially on curved surfaces. Finally, ensure that face normals are softened or hardened accordingly.
Materials, Texturing and UV Mapping: UV mapping is the process of having a 2D representation of your 3D model.
Having the proper Size and Ratio of your UV maps is the best way to identify scale and proportion of assets and scene. Common errors during this process include flipped UV maps, distorted UV maps, and too many UV shells in one asset. All of these things contribute to light map challenges.
The best practices for common UV shells/island may also vary. Having a 1:1 layout in grid space is most common. While we don’t necessarily avoid overlapping UV shells, models with unique or dedicated UV spaces offer an advantage during the texturing phase.
Assignment of Materials and namespace into specific sets before exporting is also a best practice. Every material identifier the asset has should be assigned by a particular material. If the asset requires three set types of material (Plastic, Metal, and Rubber., for example) , the following will be its format:
- Plastic =PlasticMat_1
- MetalMat =Mat_1
- Plastic =Mat_1.
This way, we help level designers decide which material they should apply.
Architizer is building tech tools to help power your practice: Click here to sign up now. Are you a manufacturer looking to connect with architects? Click here.