Former OMA and BIG employee Bennett Oh is the creator of Archi Hacks, the popular Youtube channel dedicated to Architecture visualization, portfolio and design tips and tricks for students and professionals.
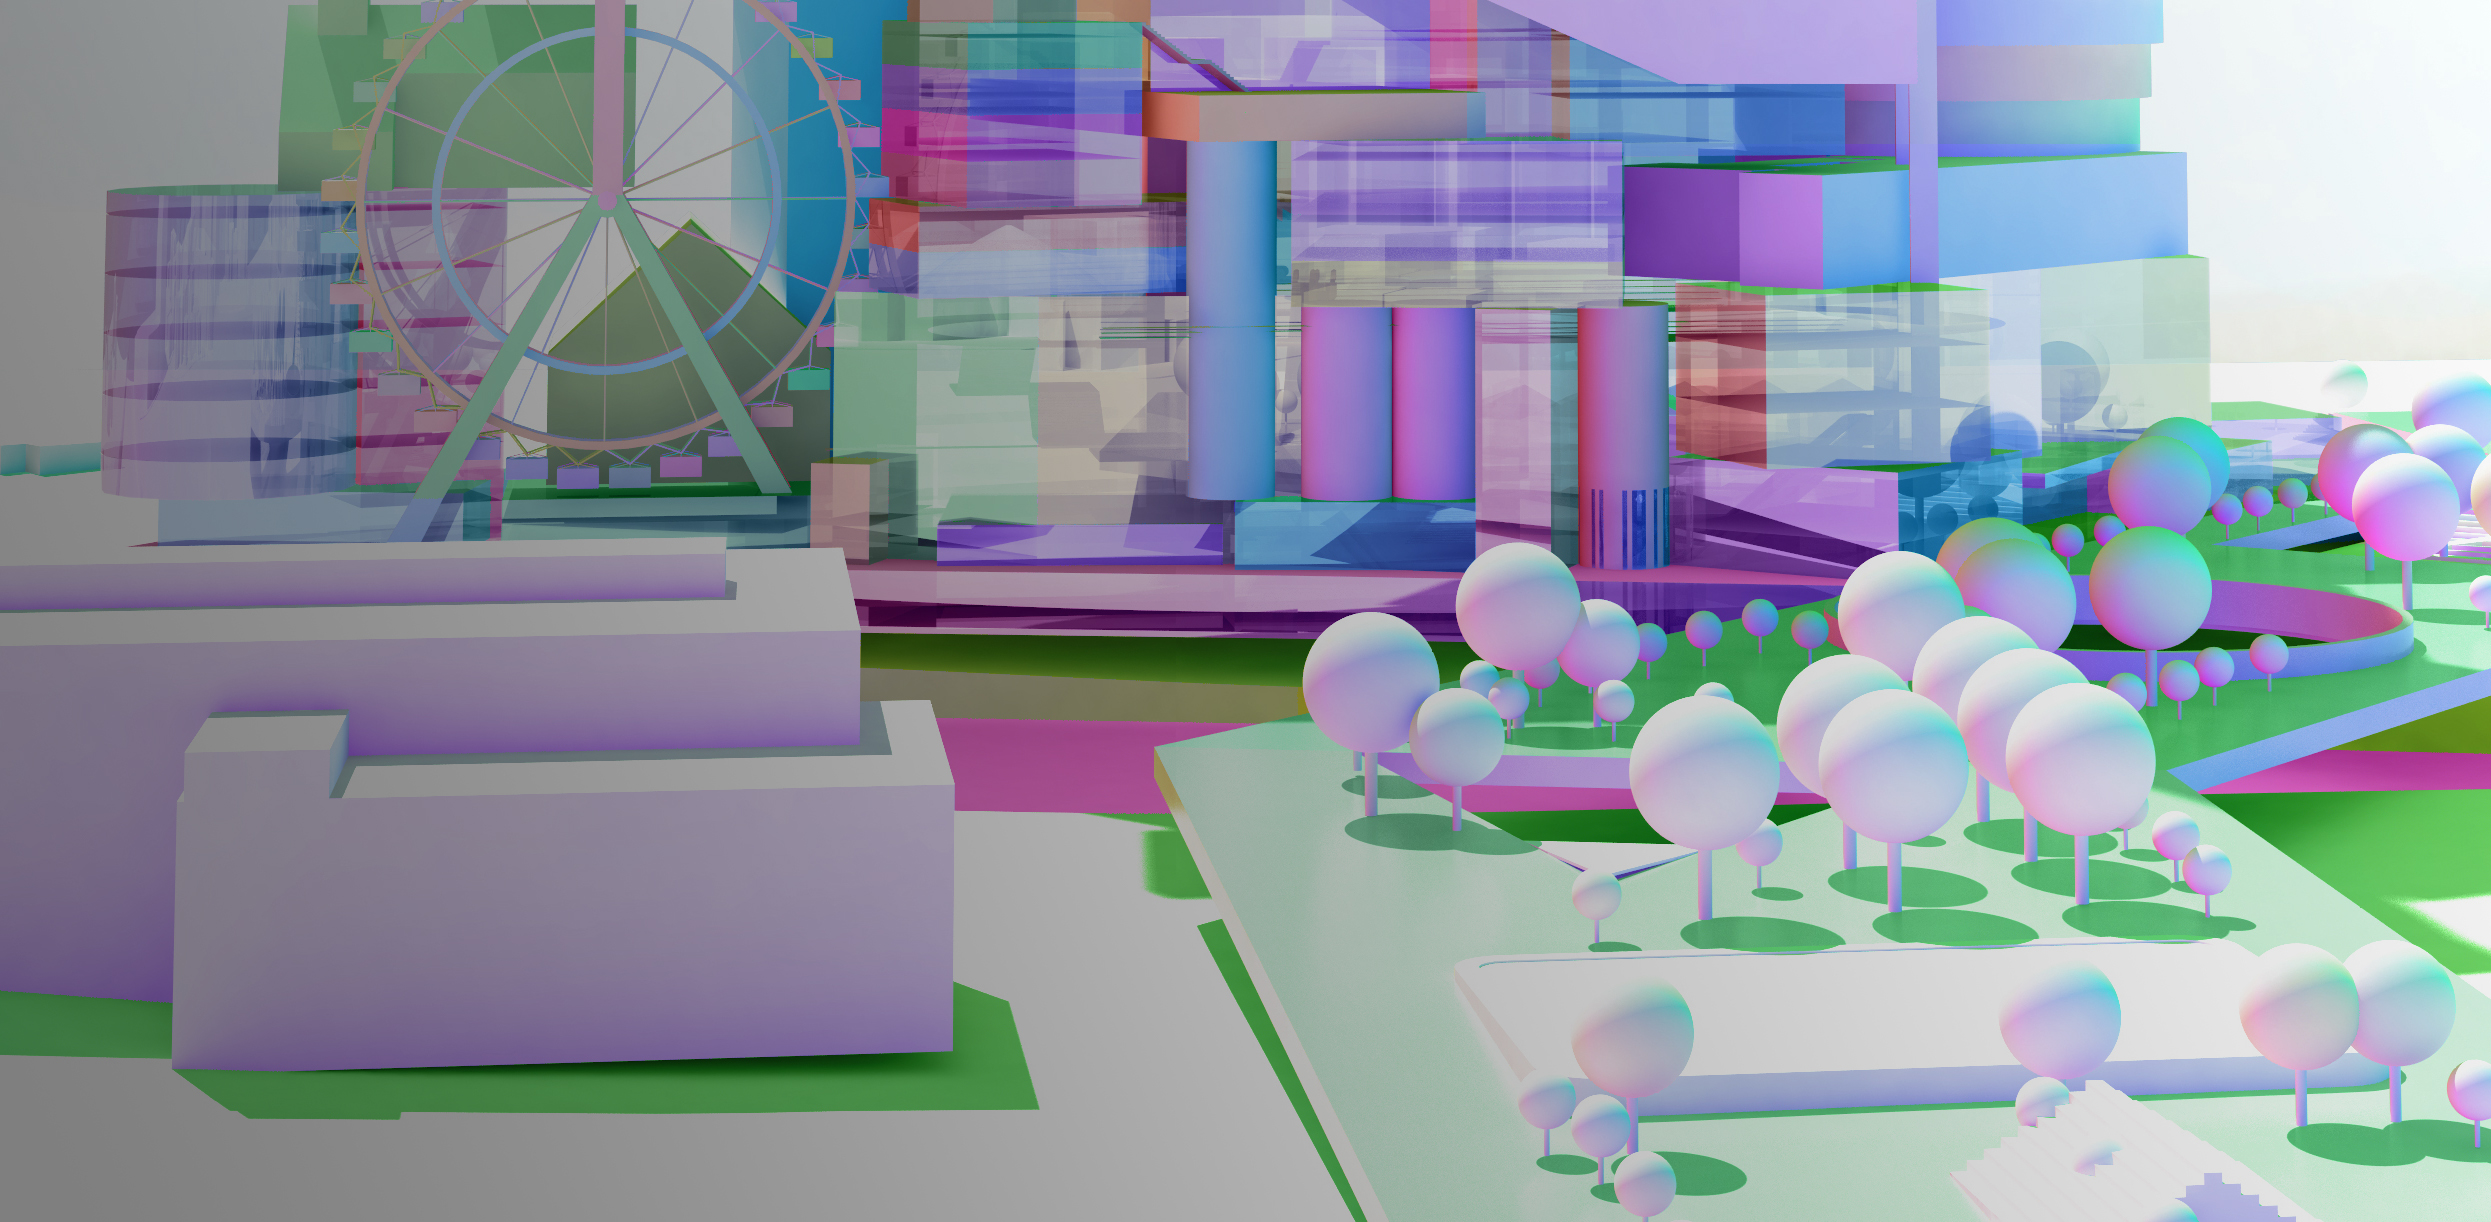
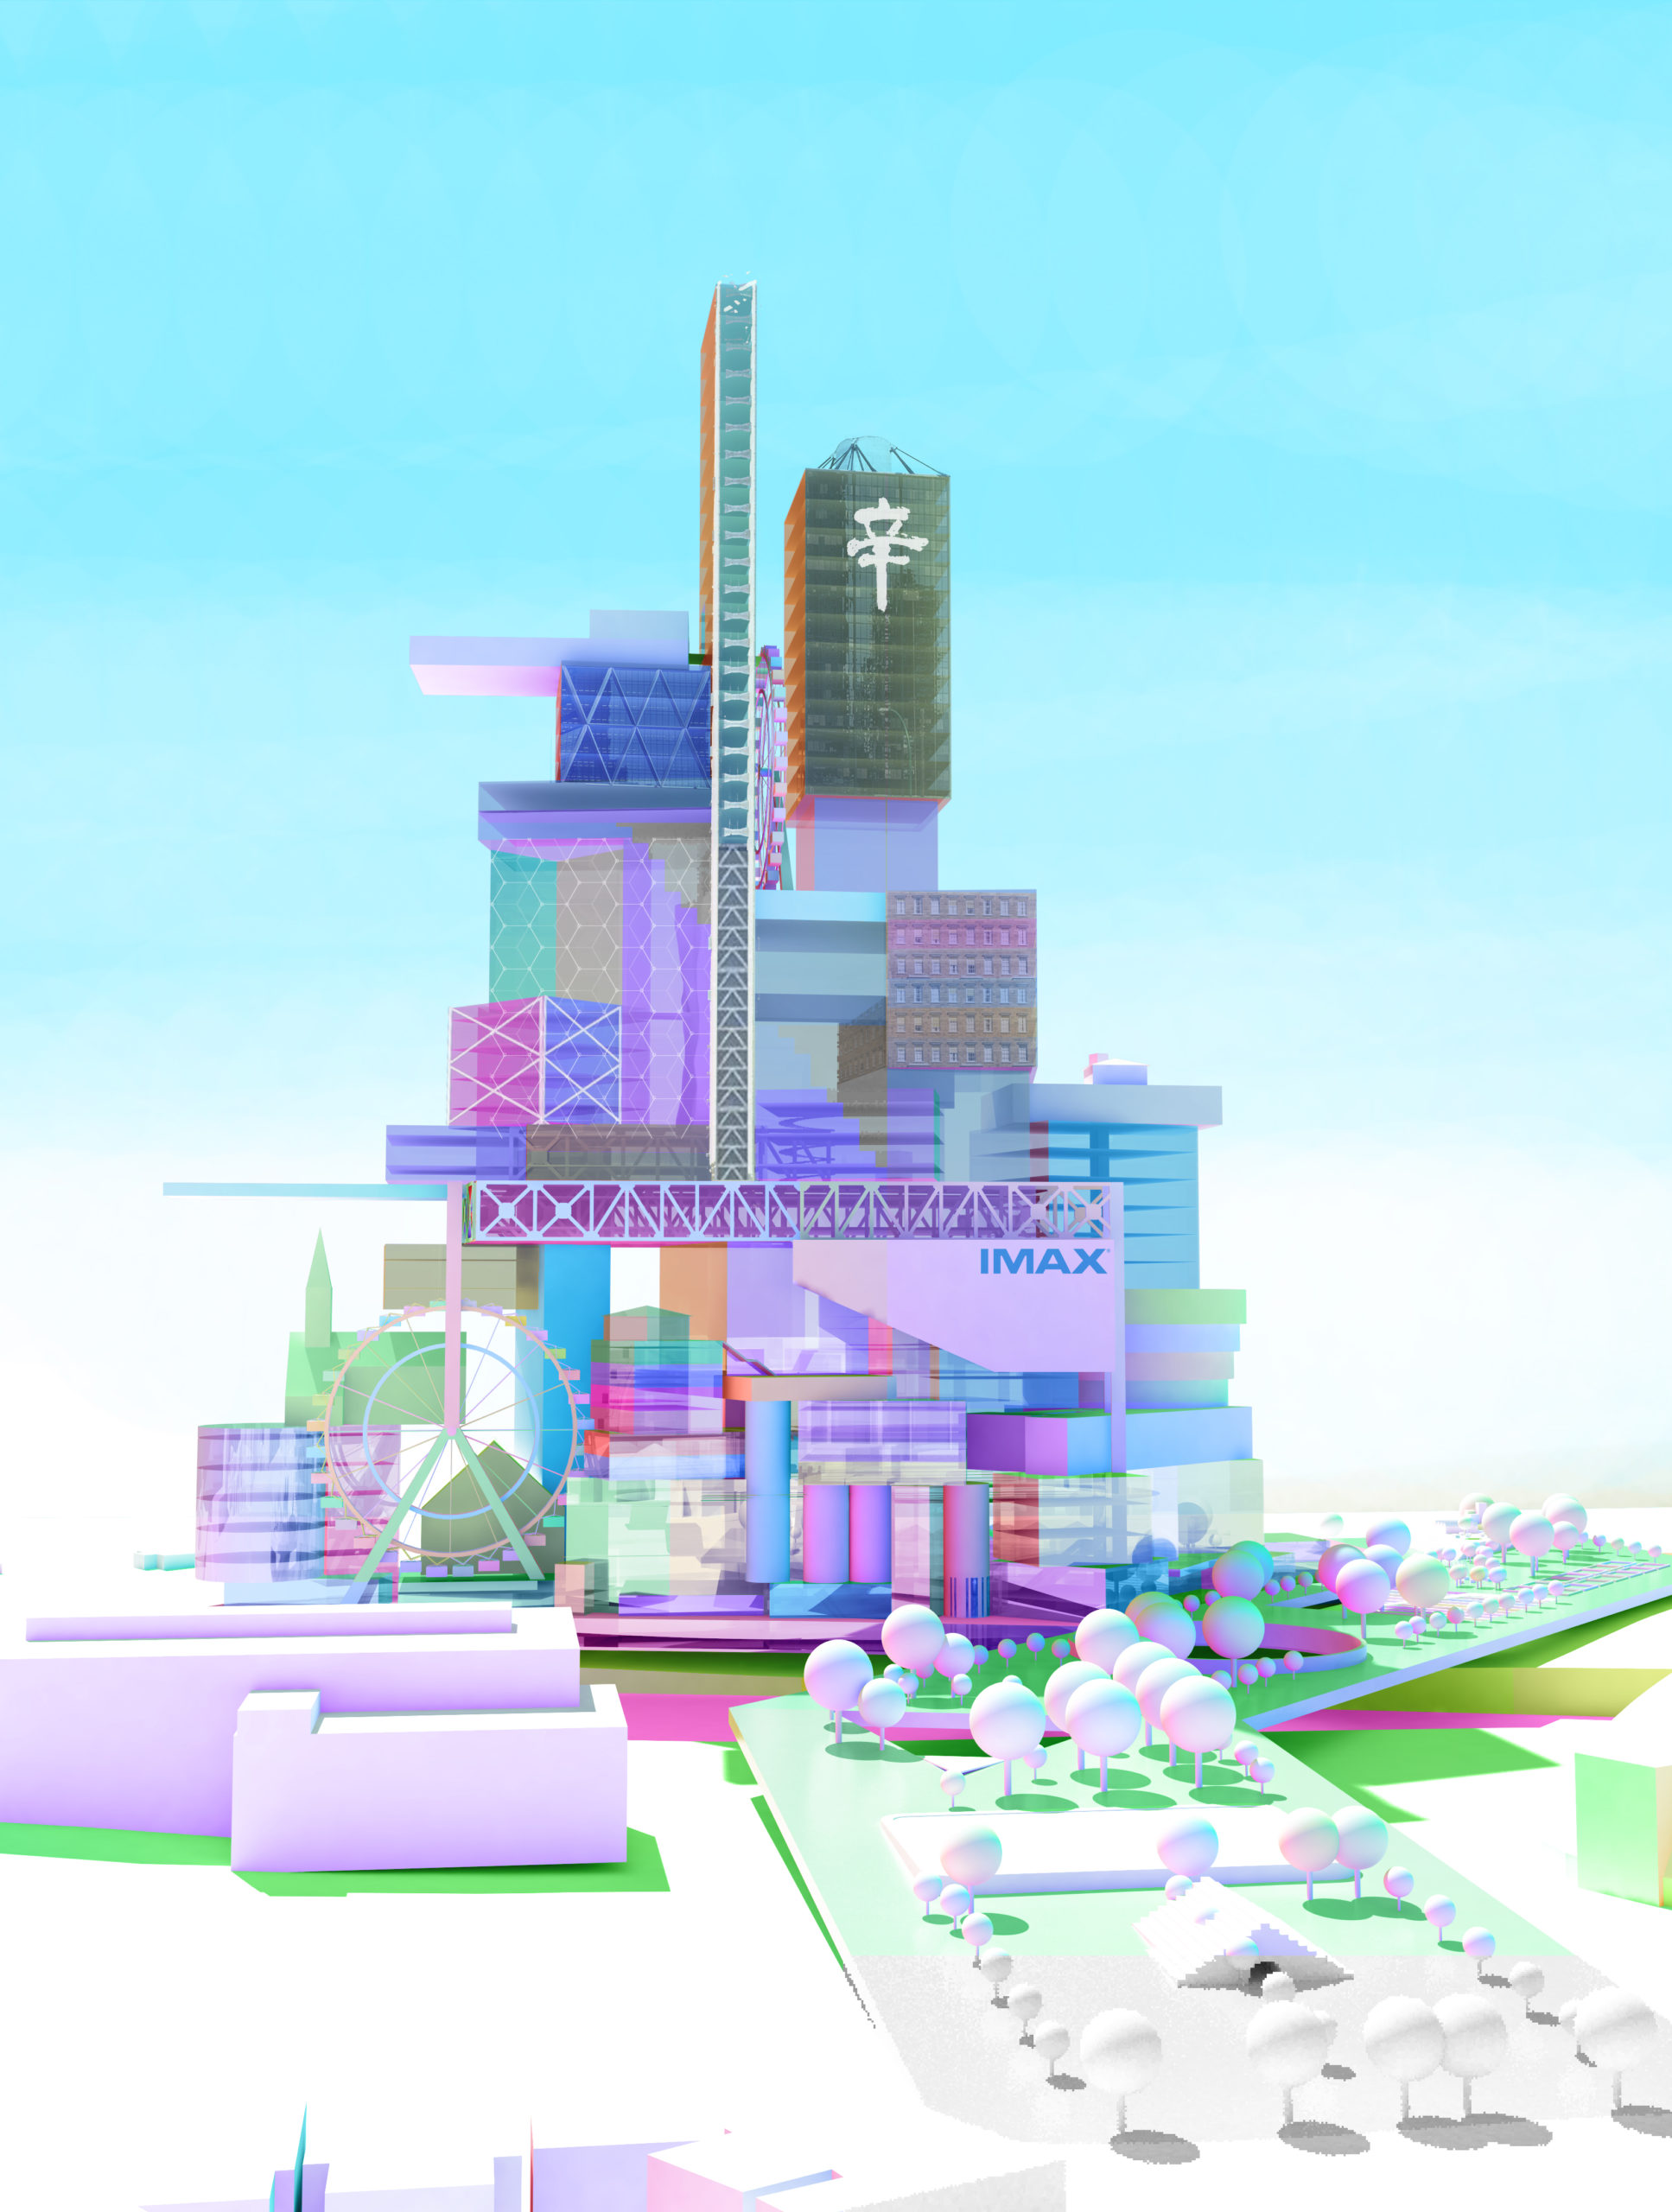
Photos-realistic renderings will always have their place in our industry, but we could use a bit of whimsical, imagination-stirring images in conceptual phases to get the creative juices flowing. The secret sauce to what I call ‘cotton candy’ aesthetic is comprised of Render ID and Normal map channels.
Normal map is one of render channels typically used to re-light the 3D model on a third party software. The element assigns a unique RGB value to different directions each surface is oriented. The Render ID Render Element assigns random RGB values to each object in the scene to allow for convenient selection regardless of other factors in the scene.
As an unintended side effect, both render elements produce captivating graphics that we will harness to add new flair to today’s rendering.
Before we get started, you’ll need:
- 3D model
- 3D software
- Render engine
*This demonstration uses Rhino and V-Ray
1. Open your 3D model in your software. Apply basic textures and setup lighting.
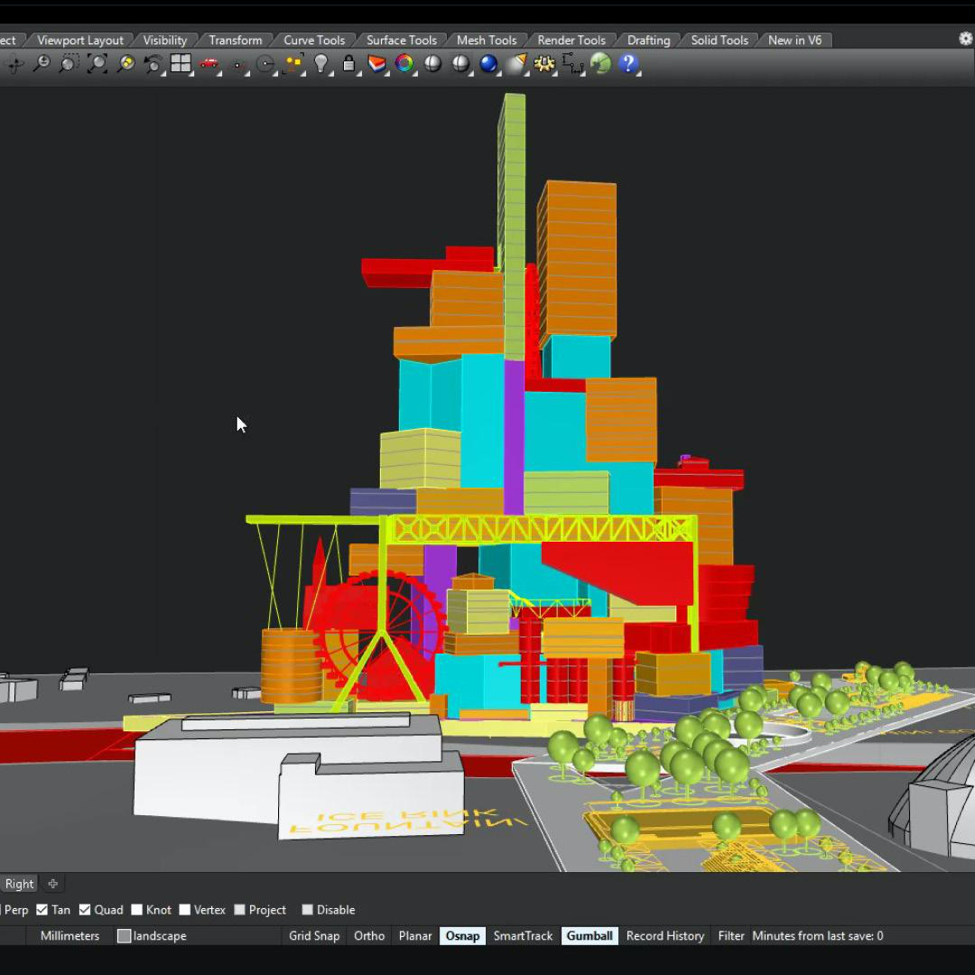
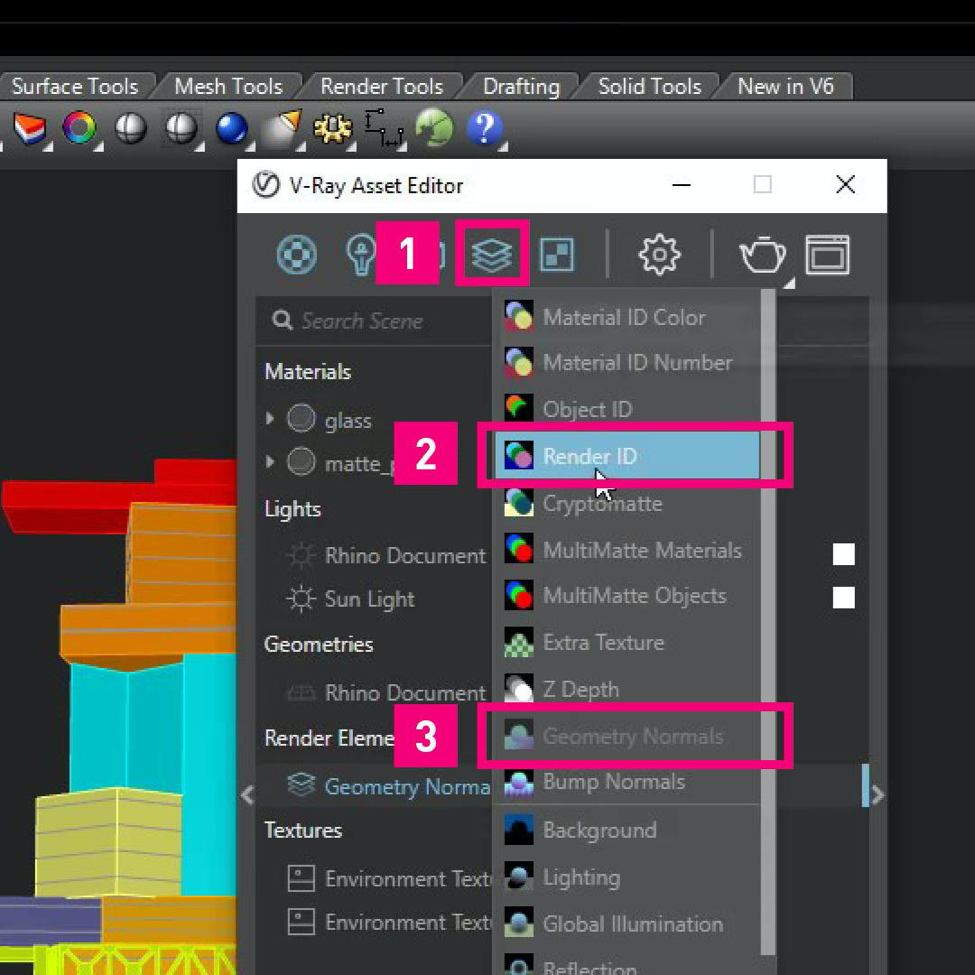
2. In the render asset editor, add the following render elements: “Render ID” and “Geometry Normal”.
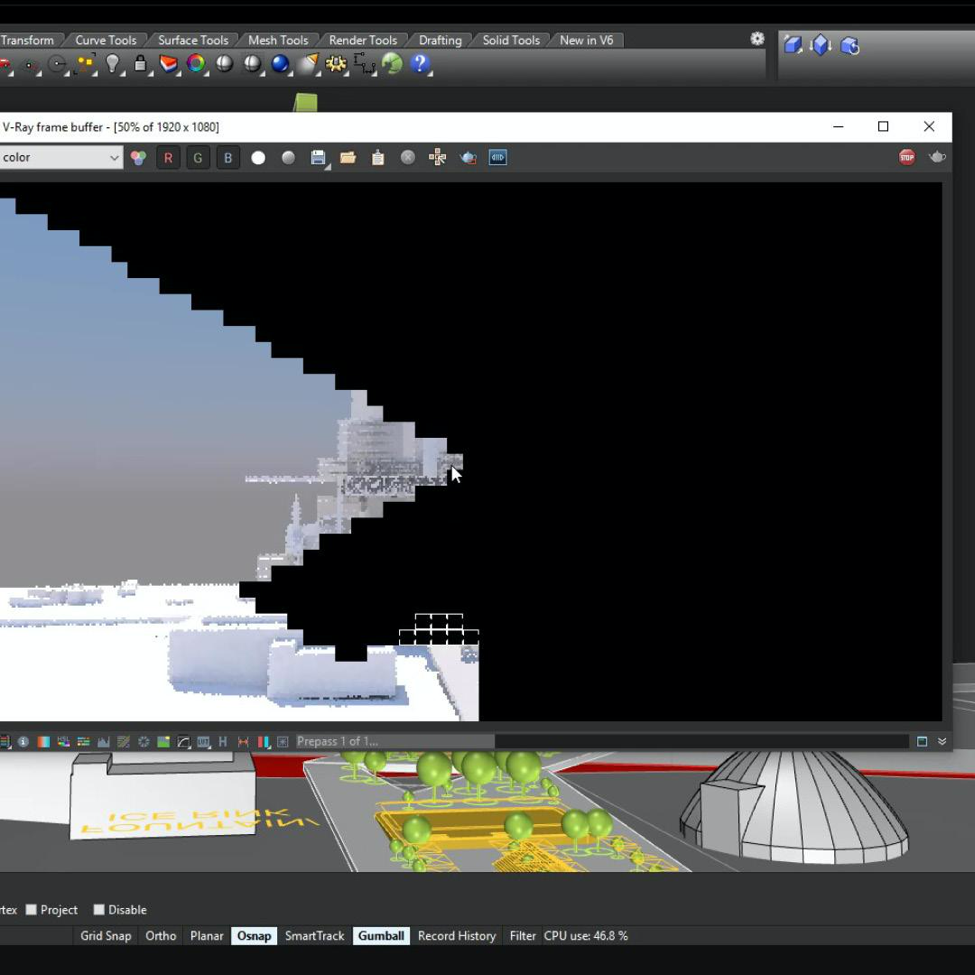
3. Hit the render button and make sure to save all channels as separate files.
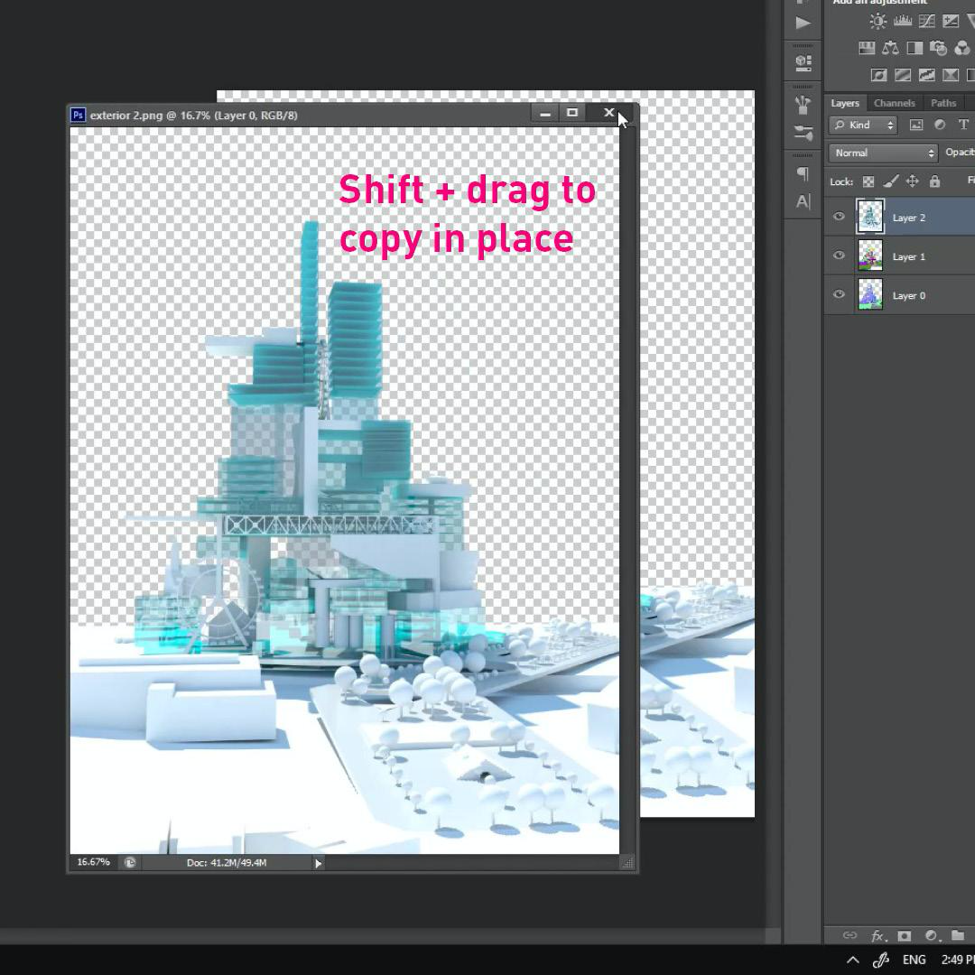
4. Compile RGB, Render ID, and Geometry normal maps as layers in an image editor.
5. Set the blending mode to Color for both Render ID and Geometry Normal.
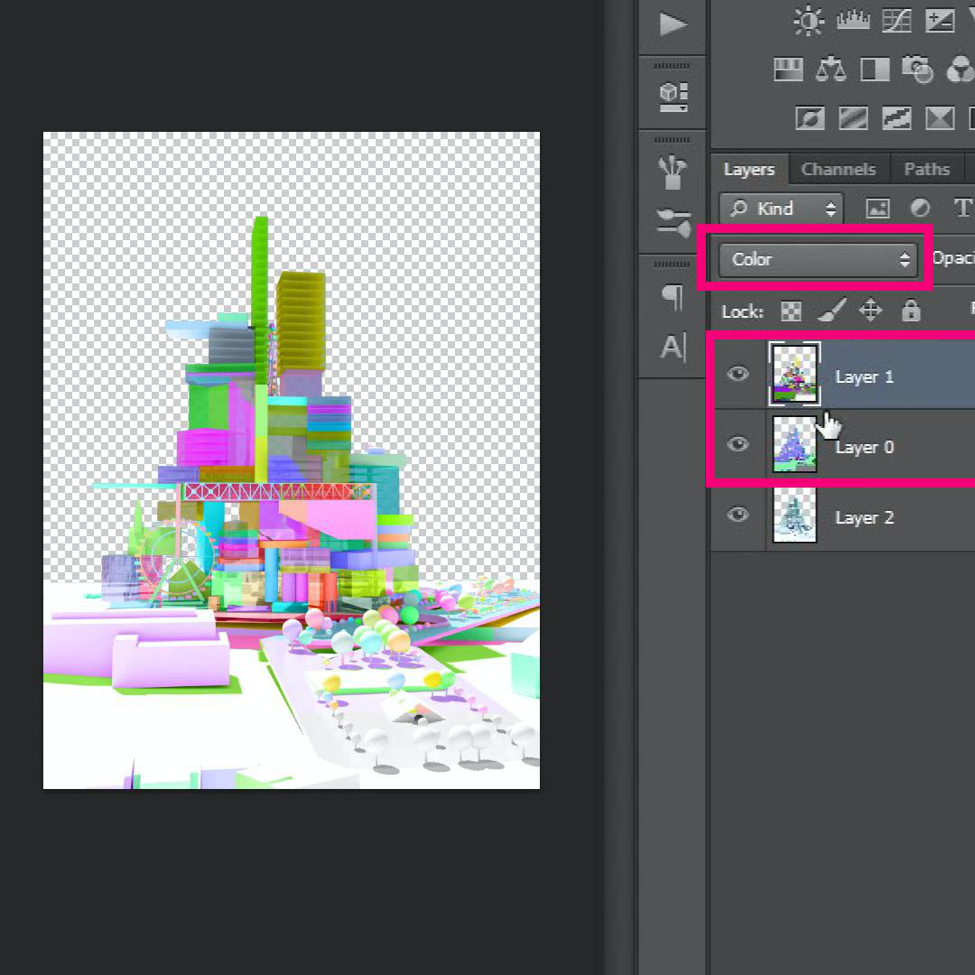
6. Mask out the Render ID and brush in selective areas back for variation.
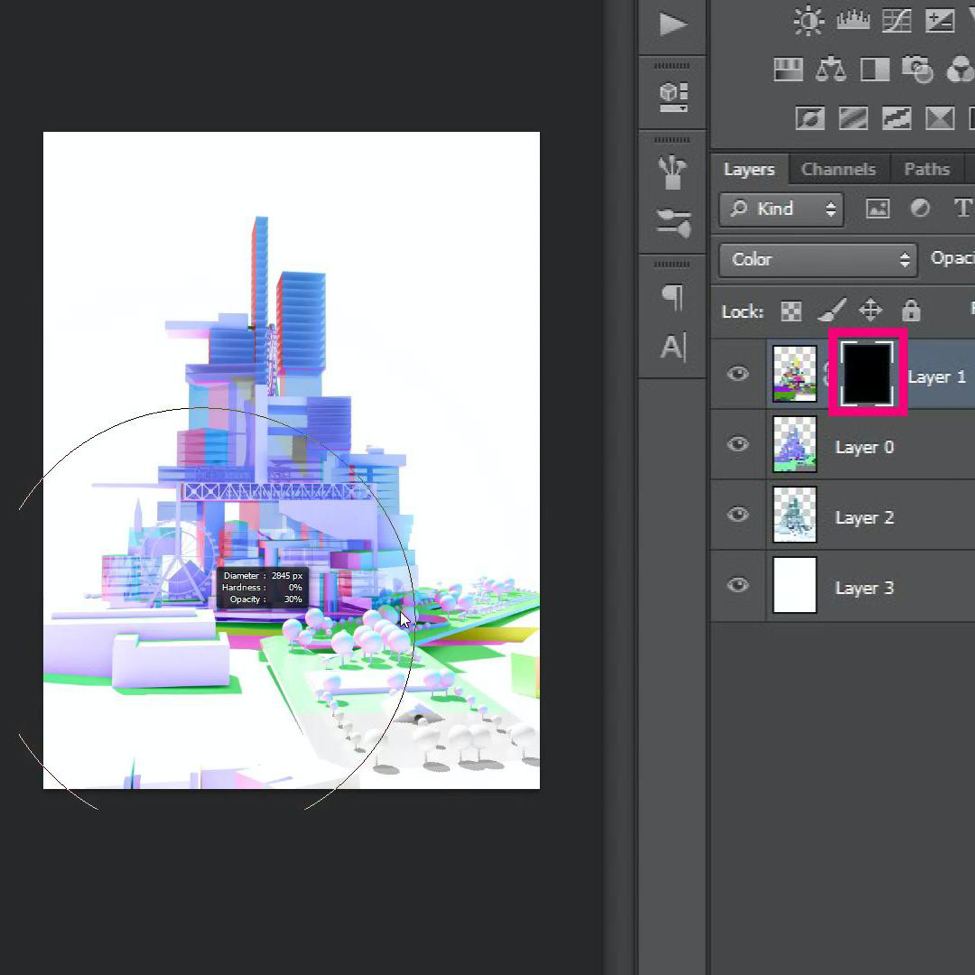
7. Add background and additional textures to finish!
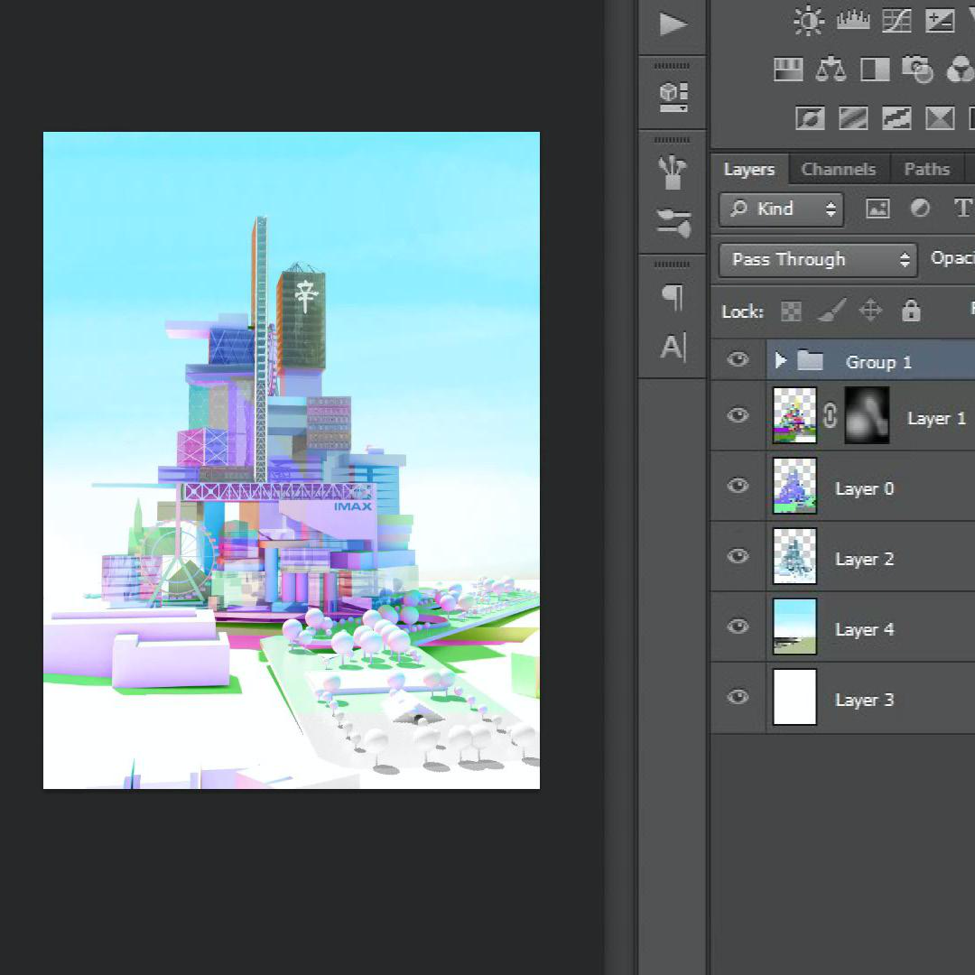
The finished image:
We encourage readers to think outside the box and experiment with different render elements to come up with their own fusion images.
Subscribe to Archi Hacks on YouTube for future content. Follow us on social media for the latest tips and tricks that may not make it to YouTube!
