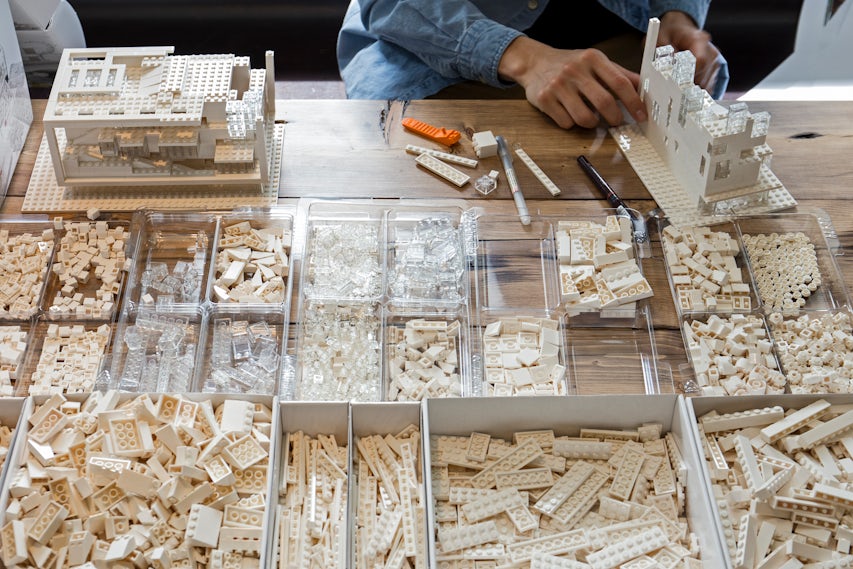
At Architizer’s 2016 A+Awards gala on May 12th, a series of brilliantly intricate models were unveiled, built using every architect’s childhood construction toy of choice: LEGO bricks. The scale replicas of these architectural projects — some completed, some under development — were a testament to the creativity of the architectural profession today, but also highlighted the versatility of LEGO’s Architecture Studio set.
Architizer went behind the scenes to capture fascinating ‘making of’ photographs of many of these structures, and in the process, we uncovered some of the tricks that the design teams used to produce quality models to match their full-scale counterparts. Read on for the definite guide on building the best LEGO architectural models — brick by plastic brick.
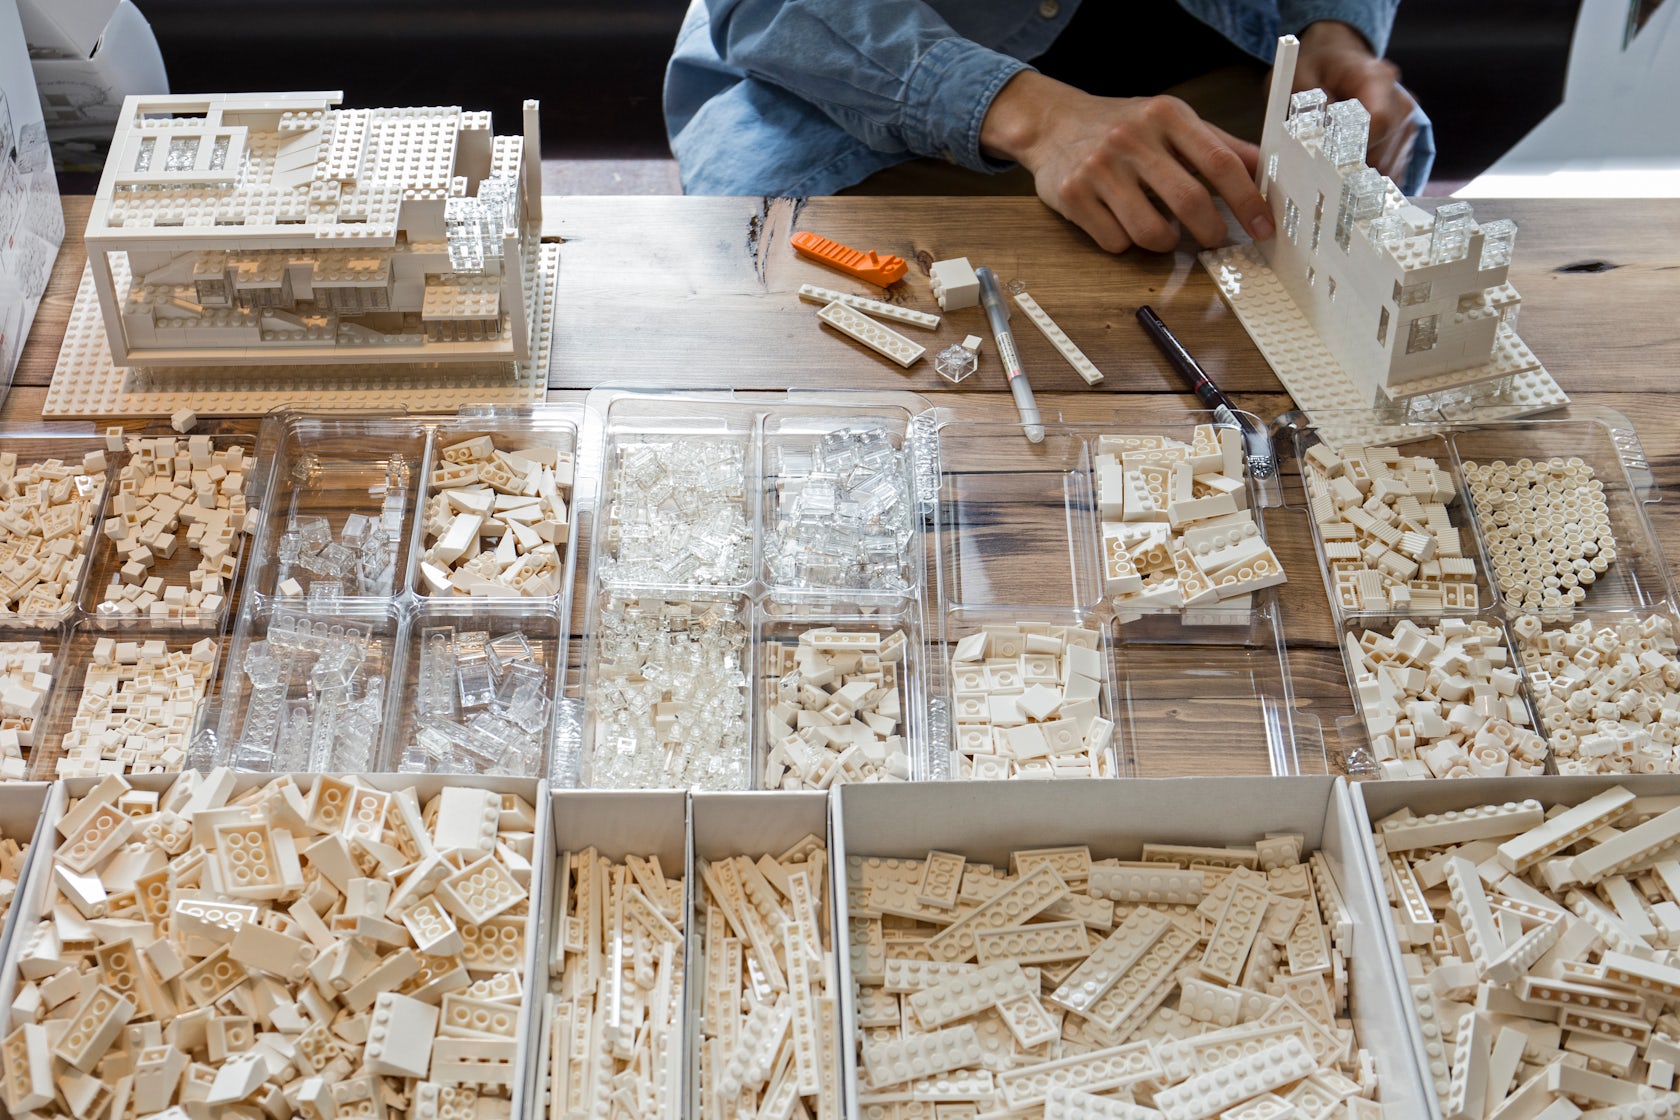
SHoP Architects kept their LEGO pieces segregated …

… while Bernheimer Architecture went for a less rigid organizational approach.
1. Get organized
As any LEGO connoisseur will tell you, organization of your pieces — particularly for a complex build — is essential. However, you are free to arrange your array of bricks as you see fit: those at SHoP Architects took a regimented approach for construction of the Uber Headquarters, keep all their pieces separate containers, while the builders of Bernheimer Architecture‘s Quonochontaug Housespread their bricks out with a savvy display of organized chaos.

Roger Ferris + Partners began by sketching designs and dimensions for its model.
2. Sketch it out
When figuring out the structural logic that will underpin your model, nothing beats tracing out a plan with a pencil on paper. A designer at Roger Ferris + Partners retreated to a relaxed corner of their studio to sketch elevations, plans and axonometrics for their LEGO model of the Red Barn — all with precise dimensions of course.
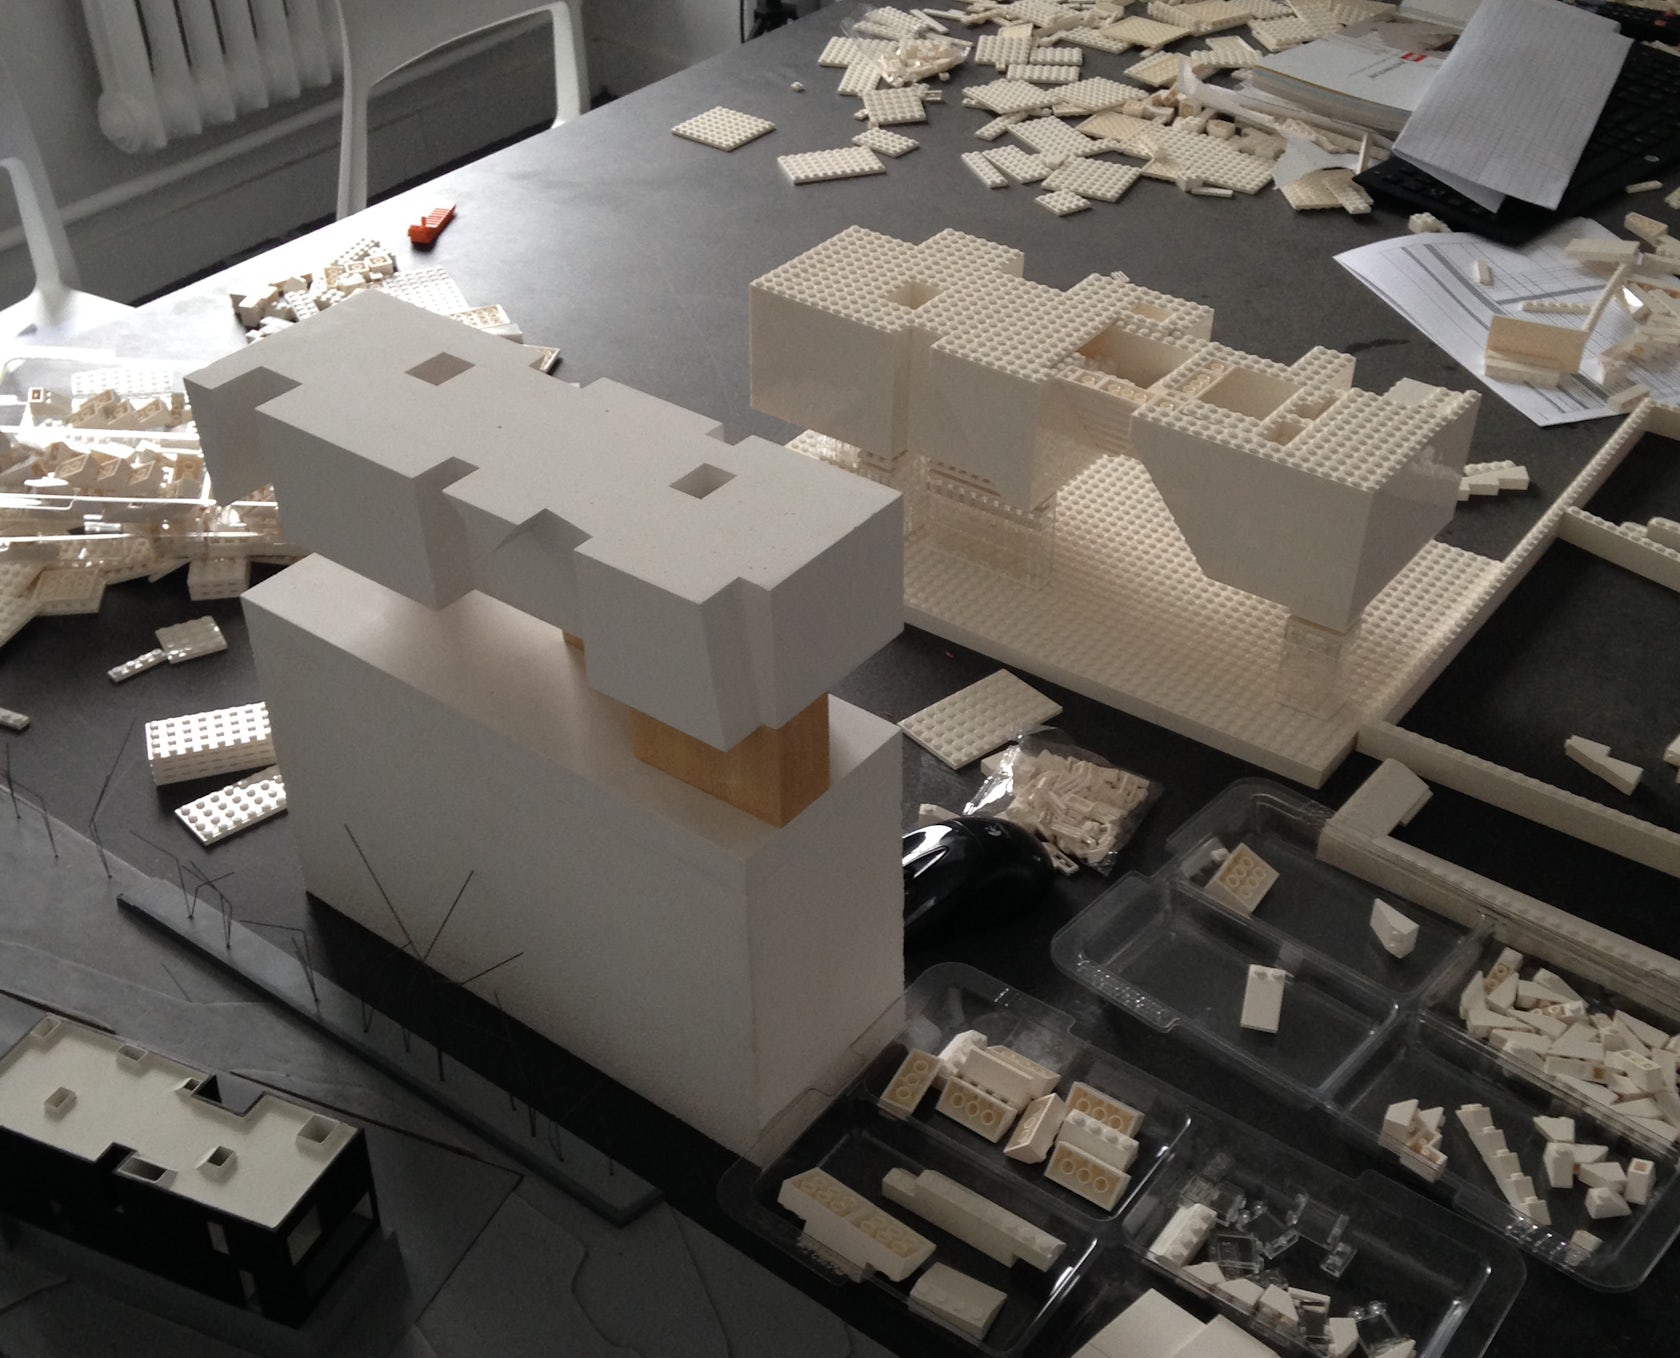
Bernheimer Architecture’s builders kept a close eye on their existing scale model to match the proportions of the real-world structure.
3. Reference your existing models
Bernheimer Architecture’s team was aided by existing block models of Quonochontaug House, allowing them to establish the building scale, angles of pitched roofs and proportions of their LEGO iteration. It is also satisfying to see how your finished LEGO model matches up to models built using more traditional materials — the plastic studs covering each LEGO brick adds real texture to proceedings!

A CAD block model was sketched out on screen to help guide the build at Bernheimer Architecture.
4. Utilize 3D software
Such was the complexity of skylights and exterior details for Quonochontaug Residence, the designers at Bernheimer Architecture wrapped their heads around the model using the tool they know best — computer aided design. Mocking up simple 3D model can provide a great reference point while you construct the real-world version.

Raad Studio’s LEGO builders were able to create a sloping ground plane using layers of slender bricks.
5. Get acquainted with scale
LEGO bricks are inherently modular and of fixed dimensions, so it is important to select a scale for your model that will enable you to incorporate all the details you want. The beauty of LEGO’s Architecture Studio set is that many more thin pieces are included, allowing you to recreate buildings with a satisfyingly high level of precision — as seen with the flowing topography of Raad Studio’s LowLine model.
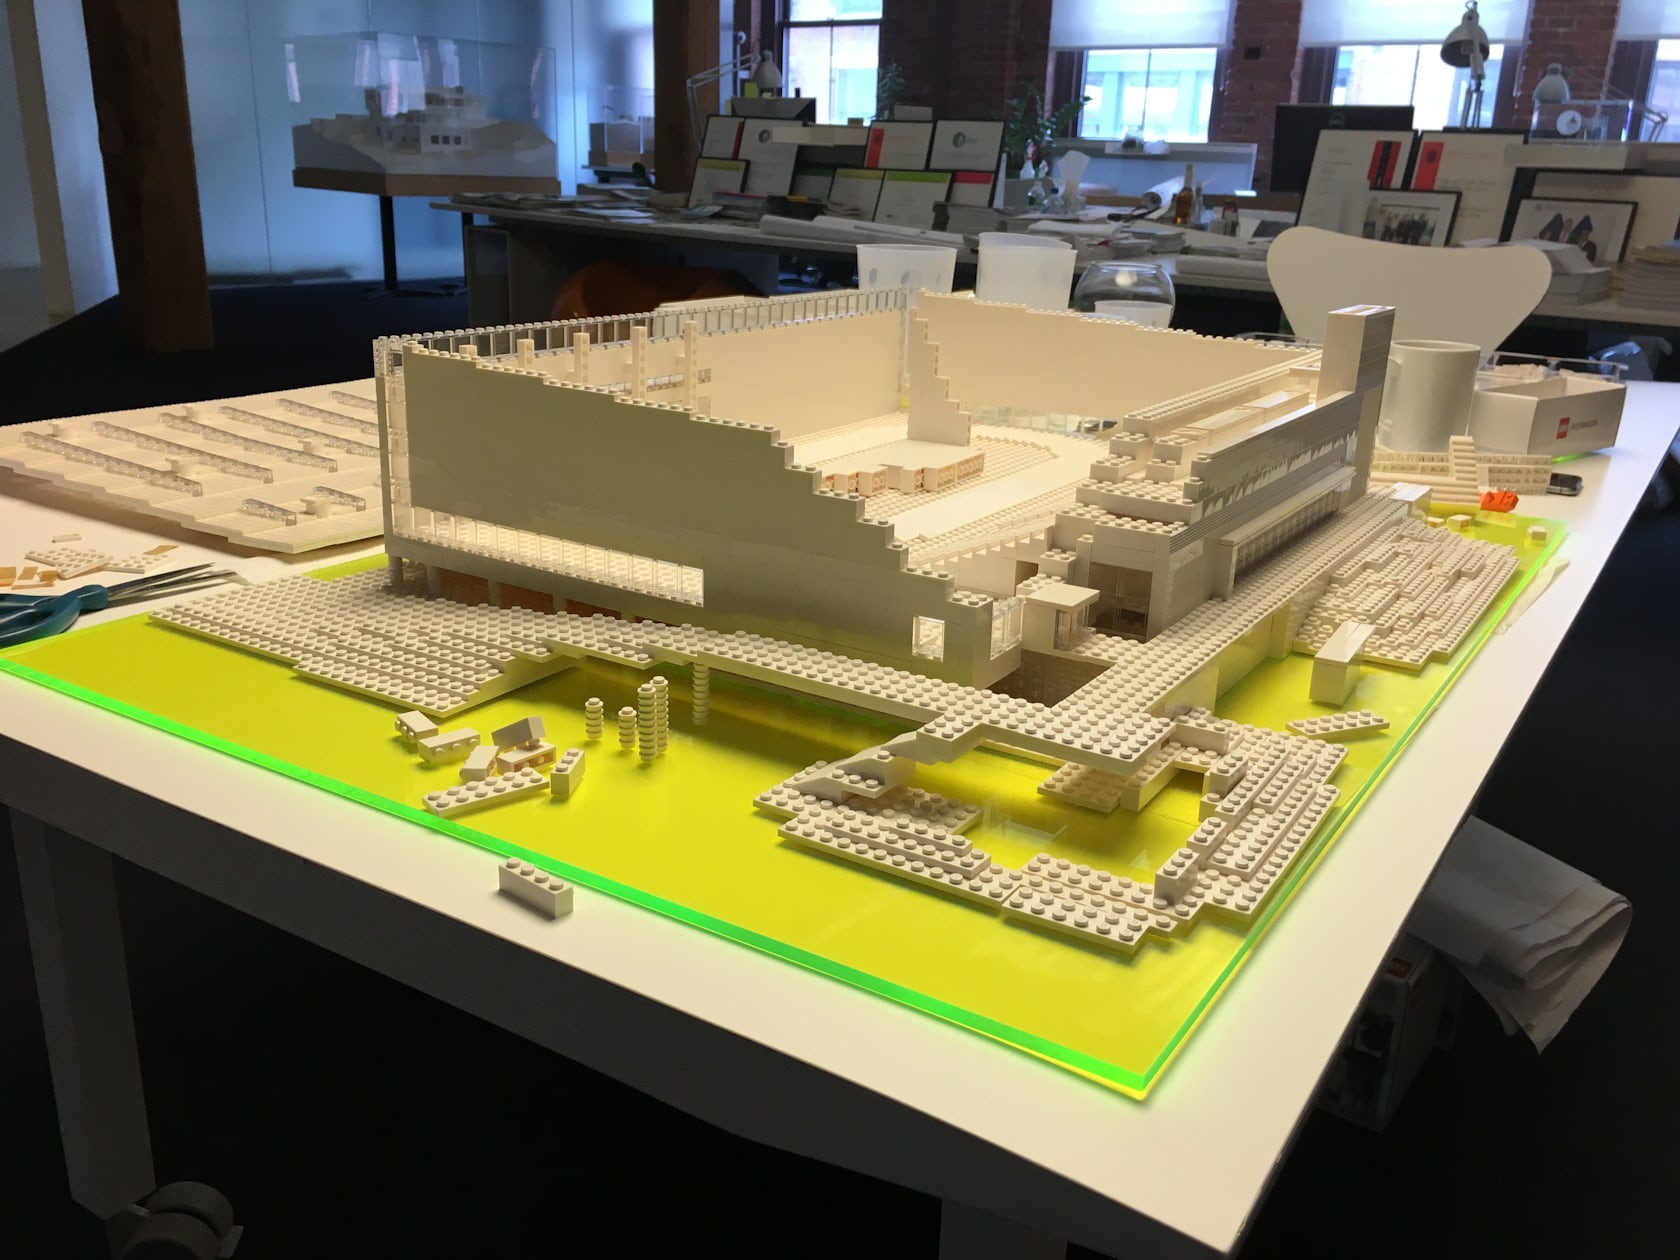
Sage and Coomber Architects used both smooth and studded pieces throughout their model.
6. Harness special LEGO pieces
LEGO Architecture Studio contains a large array of bricks designed to give you greater options for varying the appearance of your finished model. Sage and Coombe Architects’ model for the Ocean Breeze Track and Field House demonstrates the versatility of the kit: long, smooth elements contrast with LEGO’s traditional studded bricks for the athletics track, while heating and ventilation systems are accurately portrayed with fan-shaped elements.

A team member from Raad Studios examines the underside of their model.
7. Take a look from all angles
LEGO’s clever design means that a strong bond is created between each brick as you ‘click’ them into place, negating the need for adhesives used in conventional model making. Use this to your advantage by pick your model up, turning it over and examining it from all angles — much like the designers at Raad Studios, who created a subterranean replica of their innovative Low Line project.

The models near completion, clockwise from top left: Red Barn by Roger Ferris + Partners, The LowLine by Raad Studio, Uber Headquarters by SHoP Architects and Ocean Breeze Track and Field House by Sage and Coombe Architects.
8. Add those finishing touches
As Mies van der Rohe said, “God is in the details” — adding adornments such as exterior ornamentation, scale figures and even LED lights can bring your model to life and increase its legibility from all angles. In this respect, creativity knows no bounds: Raad Studios incorporated abstract LEGO trees, Sage and Coombe Architects included vents and skylights in its roof and Roger Ferris + Partners even created a special tinted looking glass to turn their white model red.
Now you’ve seen how the experts do it, go forth and build!
